Could this be the best Vimeo alternative for Squarespace?—Bunny Stream
Are you tired of paying expensive Vimeo prices just to make your website’s videos look professional?
Folks, I think I may have found a better alternative to Vimeo!
And it’s called Bunny Stream.
In this post:

Why I went looking for a better deal than Vimeo
For years, Vimeo was THE video platform for filmmakers. Beloved by the film community.
I say was because not too long ago, Vimeo moved to a B2B model and filmmakers did not react well across the web. The gist I’ve been sensing is that the quality of the interface has gone down, and long-time users have felt their loyalty undervalued.
Vimeo’s roots in the filmmaking business nevertheless run deep—for instance, many film festivals request a Vimeo password-protected screener.
Personally, while I’ve managed for the most part as a filmmaker to avoid the need to rely on a paid Vimeo subscription (so expensive!), I eventually had to upgrade to a paid subscription so I could enter a film festival that required a password-protected screener.
This was a cost that I hadn’t budgeted for with my first short film, which was self-funded out of my own pocket 🥲. I paid for Vimeo for the shortest length of time that I could.
In my other job as a web designer, I see many filmmakers want to showcase their video portfolios on their personal websites. Also ad production companies want to share director portfolios or reels with interested clients.
Usually this requires hosting your videos somewhere online first. That can be pretty expensive on Vimeo nowadays.
In my search to find if a better deal than Vimeo exists, several people on the web recommended giving bunny.net a try.
Bunny.net offers a 14-day free trial. So I did.
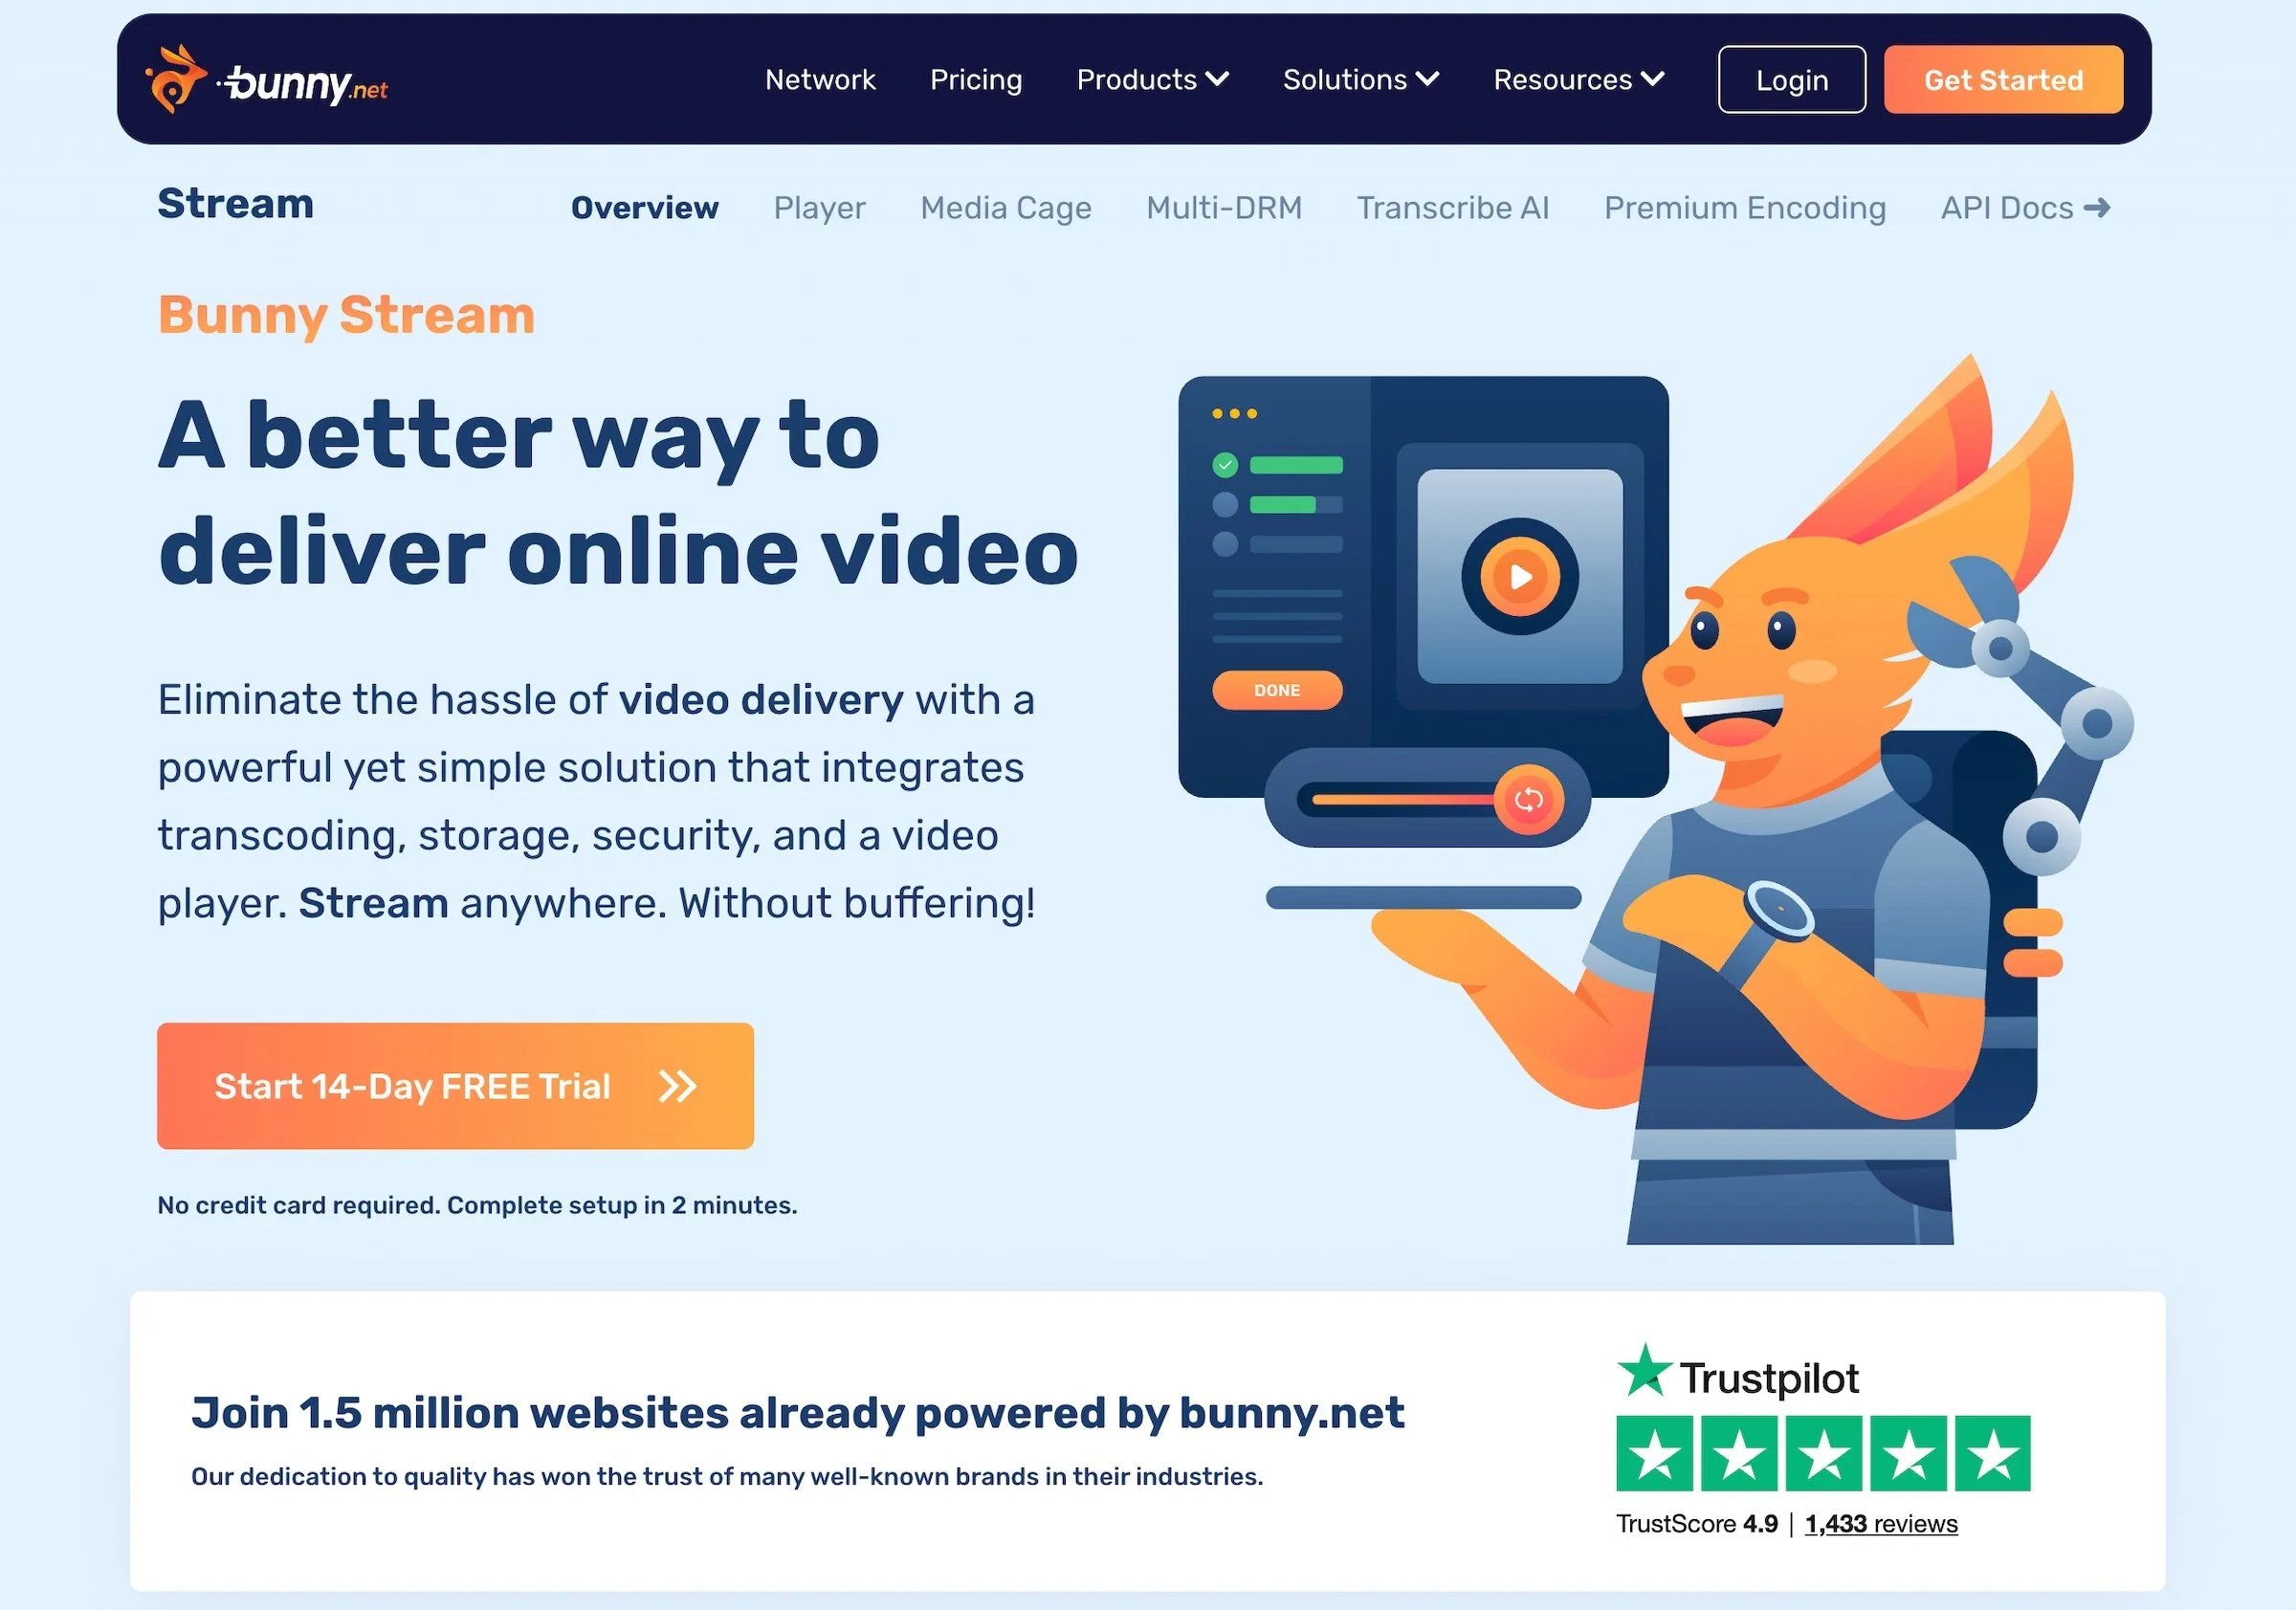
What is Bunny Stream?
Bunny Stream is a video hosting and delivery platform designed for speed, scalability, and affordability. It is one of several services provided by bunny.net ↗.
In simple terms, Bunny Stream lets you upload your videos, automatically optimises them for different devices and internet speeds, and delivers them to viewers through bunny.net’s global content delivery network (CDN).
At its core, Bunny Stream handles three key things:
Video hosting – Upload and store your films, reels or client work
Transcoding – Automatically converts your video into multiple resolutions for smooth playback
Global streaming – Delivers your video quickly to viewers anywhere in the world
It’s a professional video delivery tool for your website, without the social media trappings.
To use Bunny Stream with Squarespace, upload your videos to Bunny Stream. Customise the video player to your branding, Then:
embed your videos on your website within the Bunny Stream video player, or
share a direct link to your video.
I go into setup, customisation, embedding and direct sharing further in this post.
Bunny Stream: Is it cheap?
My goal was to find a video delivery service for hosting, encoding and streaming videos.
The service needed to work smoothly with Squarespace 7.1.—enough that I could confidently recommend it to my web design clients—and not create a financial burden on them.
For me, the biggest appeal of Bunny Stream is that you only pay for what you use (with a minimum charge of $1/month), unlike traditional platforms like Vimeo that operate on fixed subscription tiers.
And Bunny Stream’s fees are super low.
Bunny Stream calculates your monthly bill based on:
your total video storage
your chosen number of replication points (i.e. storage locations), plus
your monthly traffic usage (i.e. bandwidth used when viewers watch your videos).
Encoding is free.
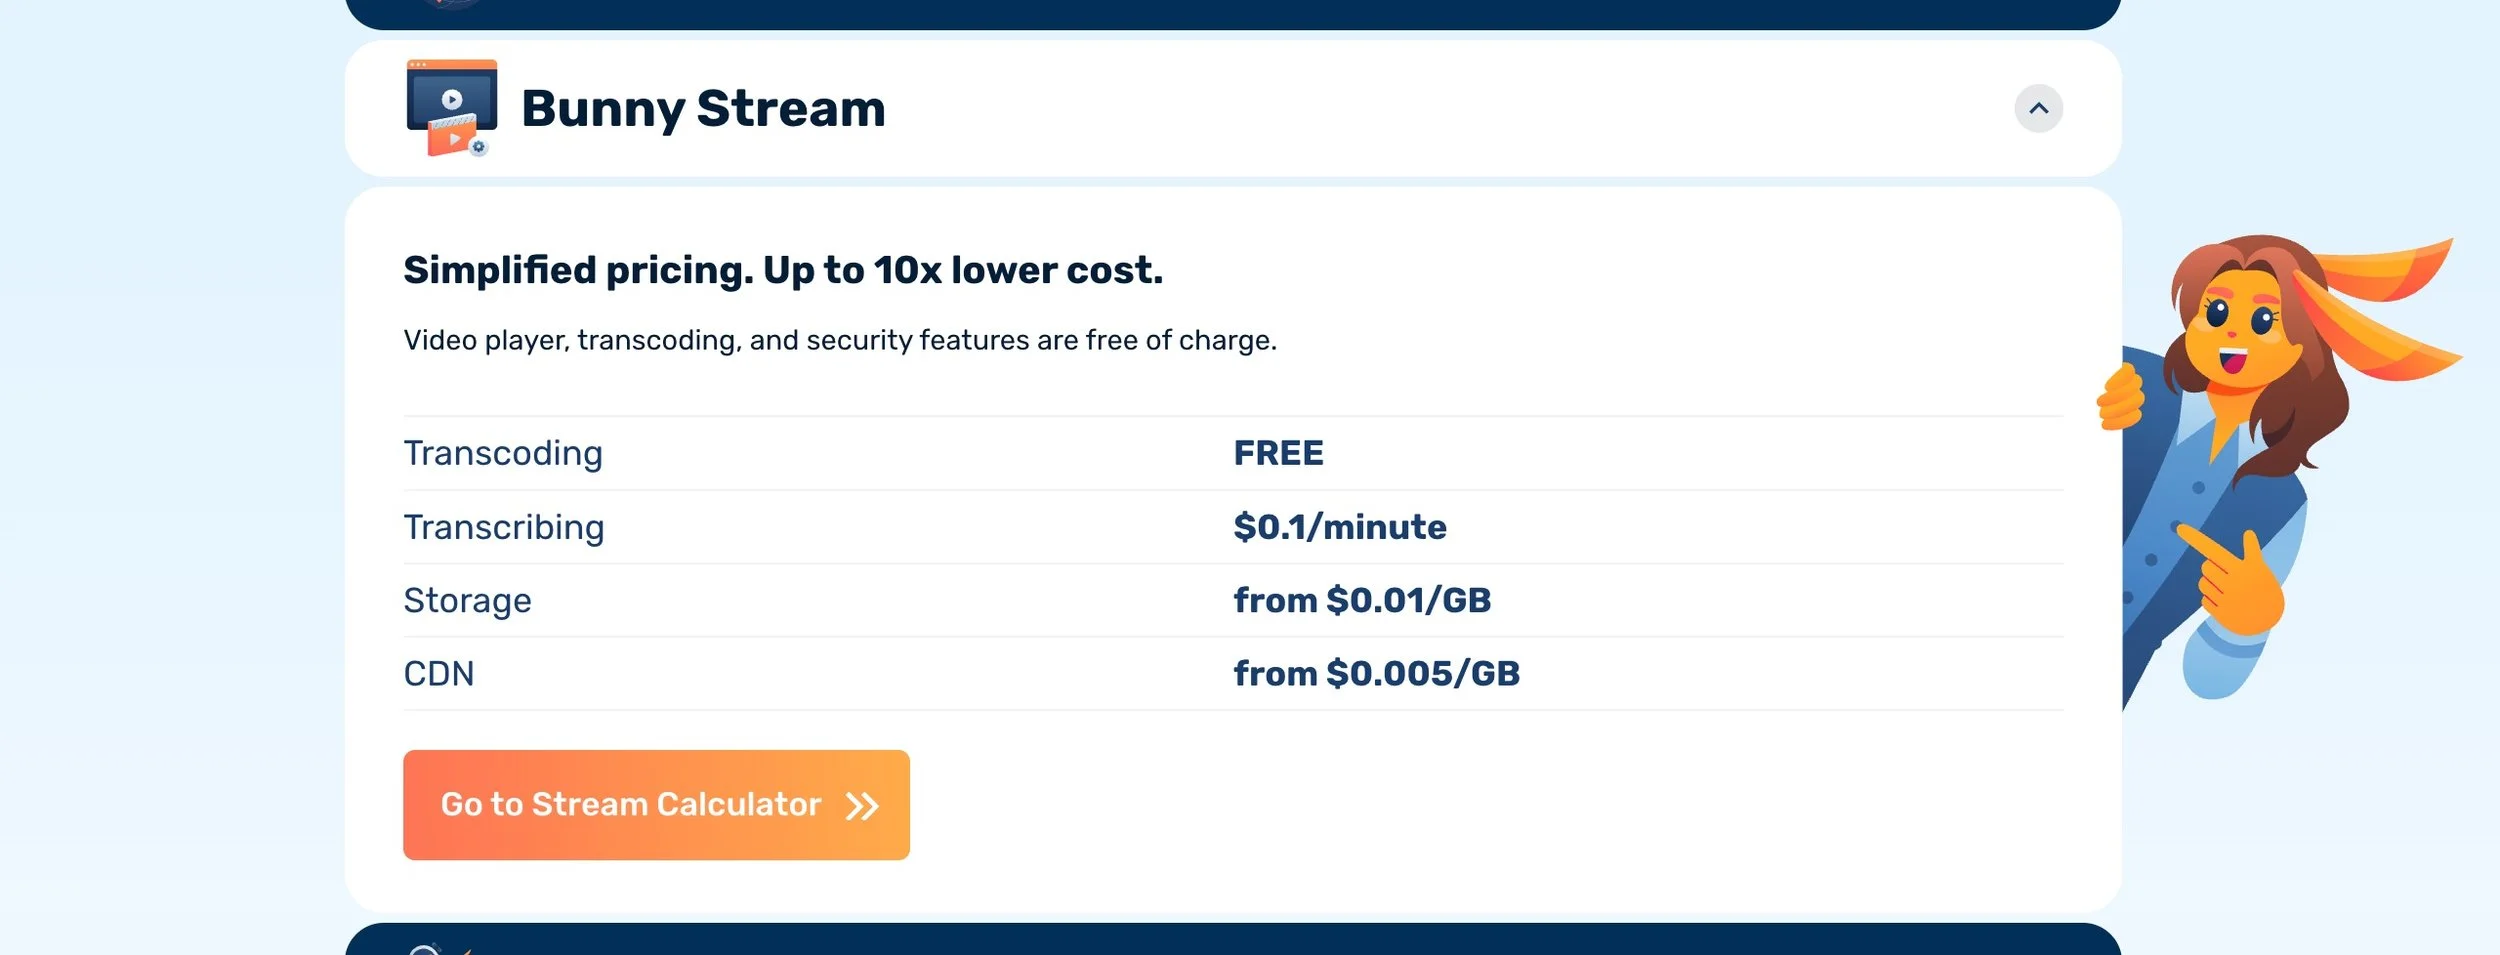
A table displaying Bunny Stream’s pricing on its website.
Using their online calculator on the Bunny Stream page ↗, 100 GB of video, replicated in 3 data centres in the world (aka replication points) with 400 GB of traffic, it would cost me $4.50 USD/month.
Vimeo’s starter plan is $12 USD/month on annual billing for up to 2 TB of video storage.
How to embed a Bunny Stream video on Squarespace
Embedding the Bunny Stream video player on a Squarespace website is really straightforward.
Just copy the video’s embed code to a code block on your site.
But note, as the video is an iframe HTML element, you’ll need a core/business Squarespace plan or higher.
Copy the embed player code below the embed options.
Before copying the code, toggle on your embed preferences. I recommend keeping Responsive toggled on, so that your video resizes according to different browser sizes.
You can also choose other embed options to turn on/off:
Preload – starts loading the video as soon as the page loads
Autoplay
Loop
Muted
If you’re wondering if Bunny Stream video URLs are compatible with Squarespace’s video blocks, the answer is no—they’re not supported.
How to share a video URL with clients and peers
If the video is part of your filmmaker portfolio, from a web design perspective, I would share a link to the page of your website with the Bunny Stream video embedded (see above). Then, all you need to do is share the page URL.
Doing it this way gives you more control over the URL, page styling and branding—along with the option to include more info about your film, e.g. a title, synopsis and call-to-action, if you’ve got a movie to promote.
The other option is to share a direct link to the video instead. Possibly the more convenient option if you want to share works in progress.
The video links can be found in your video options in Bunny Stream. Copy the Direct Play URL.
What’s the Bunny Stream video player like and can you customise it?
Video player controls
During my trial, I had the option to try out the new bunny video player, which at the time, was in beta. But has now been released.
The video player with some controls. More controls available.
I think the new player looks good—it has a standard, clean user interface. What you’d expect a video player to be. Once a user clicks the play button, the other controls will quickly fade out.
You can select which player controls to display across videos in the same collection. Player controls includes Closed Captions, Full Screen mode, and Chromecast.
Player controls to choose from in Bunny Stream.
Settings is a good UI control to always keep on. This gives your users control over the caption language, quality (e.g. 1080p) and playback speed.
Other player customisations include:
Player UI language
Primary player colour – I customised mine to be the brand colour that I use for buttons. If you’ve got the hexcode, it’s a simple copy-paste.
Font family – some popular font families here to choose from, e.g. Lato, Roboto.
Captions appearance – font colour, background colour and font size.
Closed Captions set to font size 16 when viewed full screen on my Macbook Pro. The film is 1.85:1.
Custom HTML head – if you know CSS, you can add your own CSS rules.
Resumable player position – allows viewers to resume the video player from where they previous left off.
Show watchtime heatmap – a public heatmap to show popular moments once enough data has been collected.
Some player customisation options as they appear when logged into Bunny Stream.
Can you password protect videos with Bunny?
Bunny Stream doesn’t offer the password protection feature that Vimeo is known for.
What it does provide is an entry-level DRM (Digital Rights Management) for free known as MediaCage Basic DRM.
Turning this on protects your videos against unwanted downloads.
Videos using MediaCage Basic can only be played in the embedded player, so your video won’t work with third-party players—because they’re essentially outside the security wall.
From reading Bunny’s documentation ↗, MediaCage Basic should provide sufficient content protection for most people, including filmmakers who wish to release their films online for free.
If you wish to add basic password protection, you can turn on MediaCage Basic DRM and embed your video on a password-protected page of your Squarespace website.
Set a password under the page’s settings. With this solution, your Squarespace website is doing the password protecting.
I can’t see any issues here if you’re looking for a cheap video host to share your work privately with your coworkers, clients and/or peers.
For companies that need tough security features like stopping screen recordings and blocking screenshots, Bunny offers MediaCage Enterprise DRM, a premium service with a base fee of $99/month + DRM-license fees. With the latter, again, you only pay for what you use.


What is the Bunny Stream setup process like?
When it comes to setup, Vimeo requires minimal configuration. Bunny.net’s Bunny Stream, on the other hand, takes a slightly more hands-on approach. A little bit more tinkering behind-the-scenes before the show can open.
You’ll need to create a video library and configure your preferences. It’s not difficult, but it does assume a bit more familiarity with web tools. The trade-off is greater control over your video storage and delivery.
To help, Bunny has lots of documentation to fill in the gaps in your knowledge.
Creating a Bunny account
During the sign-up process, I completed a really quick and easy 3-question survey that asked me about my goals, skill level and team size to tailor my experience. I selected the option ‘Processes and deliver videos.’
It will also ask you about your skill level and team size.
Creating a video library
Step 2 is to click Stream from the side menu > Add Video Library.
This is where you’ll give your first video library a name and enable geo-replication regions.
What this means in simple terms is that alongside the main region where your files are stored, you have the option to store copies of that data on servers in other parts of the world.
⚠️ Be aware that replication regions can’t be removed once added. This is the one setting that you need to think twice about during setup.
I think knowing where your audiences are can help you decide. I live in New Zealand, so I selected my closest, Sydney for Oceania. For Bunny Stream, the main storage zone is always Frankfurt (DE), so I guessed that would cover me enough for the UK/Europe.
I also looked at my YouTube analytics for my short film, which I’d uploaded some month’s back. 40% of viewers watched my short from the USA with the biggest proportion in California, so I added a third storage zone—Los Angeles.
Replication region options when adding a video library.
Each additional replication region is a tiny $0.01/GB! However, if you are planning to have big storage and delivery needs, then bear in mind replication regions will add up.
Encoding settings
When I gave Bunny Stream a whirl, I was surprised that it didn’t take me through a setup wizard. Consequently, as I was figuring it out on my own, I was inclined to configure my settings going down the menu options, beginning with Manage Library and uploading my first video.
🛑 Don’t do this. I recommend that you don’t upload a video until you’ve configured your encoding settings.
If you don’t set these beforehand, your first video will be encoded with the default resolutions of 240p, 260p, 480p, 720p and 1080p. Encoding a 614 MB 1080p short film in all of those resolutions came to 1 GB of storage.
The lowest quality I want people to watch my movies in is 720p, and that’s as a fallback, so encoding for lower resolutions is just increasing my video storage unnecessarily.
I tried to re-encode my video, but it didn’t work, probably because I didn’t elect to store the original file with Bunny—another way to save on storage.
I ended up needing to re-upload the video. When encoded for 720p and 1080p only, video storage came to 652.8 MB. Moral of the story, sort out your settings before uploading a video.
Configuring your delivery settings
Next, navigate to Delivery to choose your tier. You’ll need to choose between the Standard and High Volume delivery tiers—and the right option largely depends on how your videos will be used.
By default, I was placed on the High Volume tier.
Not to be confused with the Standard tier, which despite it’s name is the higher performance solution.
Billing is dependent on the region you serve traffic in. For Bunny’s explanation on the difference between tiers, see here ↗.
Bunny Stream’s Standard tier is optimised for speed and performance, which can be good for ad delivery and website acceleration. The other option, the High Volume tier, is built for cost efficiency at scale, making it a better fit if you’re hosting larger video files or expecting higher traffic.
Starting at $10/TB, the Standard tier is twice the cost of the High Volume tier, which starts at $5/TB.
For most filmmakers, it comes down to a simple trade-off: maximum speed and responsiveness vs more affordable bandwidth for heavier video usage.
I heard the High Volume tier performs really fast, so I thought I’d trial it.
Did my videos load fast? While I didn’t run any speed tests, Bunny felt like it loaded much faster for me compared to Vimeo. I live in New Zealand and Vimeo, even back the good ol’ days, is notorious for buffering here.
(Is this a normal experience in other parts of the world? I’d love to know if you wanna send me an email.)
Bunny Stream vs Vimeo for Squarespace: What’s the better fit for filmmakers?
If you’re building a portfolio on Squarespace, the choice between Vimeo and Bunny.net’s Bunny Stream increasingly comes down to cost, control, and long-term sustainability.
With Vimeo, you can embed videos even on Squarespace’s lowest-tier plans with less setup. But that simplicity often comes at a price.
As Vimeo’s business model has shifted toward higher-tier subscriptions and paywalled features, many filmmakers are finding themselves paying more just to maintain the same level of control over their work.
Bunny Stream, by contrast, requires more steps to get started. But you can hire a web designer like me to help you out! You’ll also need to use a Code Block to add videos to your website—meaning a Core or Business plan on Squarespace. For USD subscribers, a Core plan is $7/month more than Basic.
But in return, you step outside the constraints of subscription tiers. Instead of being locked into monthly costs, you’re working with a usage-based model that scales more naturally with your projects.
For filmmakers and production companies who treat their website as their primary portfolio and client-facing platform, this shift can be significant. Bunny Stream offers a cleaner, brand-free player, faster global delivery, and crucially a way to avoid the ongoing cost creep that has become a sticking point with Vimeo.
Bottom line: if you want the easiest setup, Vimeo still fits neatly into Squarespace. But if rising costs and platform limitations are becoming a frustration—and your website is your main stage—Bunny Stream is a smarter, more flexible alternative for showcasing and sharing your work on your own terms, starting at $1 USD/month.
Further resources
I found this video a helpful watch before I attempted the setup process: