How to Create a Résumé “Table” for an Actor Website in Squarespace
In this no-fluff tutorial, I’ll walk you through how to build a résumé, CV or filmography “table” for an actor website built using Squarespace.
Present your acting credits or a selection directly on your site in a clean format to casting directors, agents, and producers. I think this is an attractive feature that would go hand-in-hand with a downloadable résumé/CV.
It’s true—Squarespace 7.1 doesn’t have a table block 🤦. We don’t know why. Nevertheless, I’ll show you a sweet workaround for creating a table layout!
What’s more, whenever you have a new project to add, it’ll take just seconds to update.
By the end of this tutorial, you’ll have a résumé table section that looks similar to this! But yours will adopt your site colours and fonts.
Before you begin
This tutorial takes advantage of Squarespace 7.1. You’ll also need a page that uses the Fluid Engine drag-and-drop editor.
PRO TIP: On your webpage, you can create separate résumé sections for each type of production you’re involved in. For instance, you could have different sections for theatre, film, and television. To save yourself time, design your 1st résumé section, then you can duplicate the section to use as a base design.

Tutorial
STEP 1. Add a blank section
You’ll need a page section to start building your résumé table layout.
🐰 Skip to STEP 3 if you already have a section in place.
Where you’d like to insert a new section, hover over the page.
Click Add Section.
Click Add a blank section.
STEP 2 (Optional). Change the section colour
Follow these steps if you want to pick a different section colour:
Hover over the section.
Click Edit Section.
Navigate to the Colours tab.
Pick a colour theme for your new section.
STEP 3. Add an accordion block for your actor résumé
To create a résumé “table”, let’s add an accordion block to your page section.
Hover over the section.
Click Add Block.
Scroll down to find and select Accordion.
STEP 4. Drag the accordion block into position
Click and hold the accordion block to drag-and-drop it into your ideal position.
To resize it, use the handles around the 4 edges of the block as needed.
STEP 5. Add your acting credits
Click the accordion block.
Select the pencil icon ( Edit ).
Add each of your résumé items as separate accordion items.
Click Add Item if you need more rows.
To delete items, click the red trash can icon.
Clicking on an accordion item gives you the options to add a title and description.
In my example, I’m going to add the year, production title and acting role to my accordion item titles in this format:
Year / Title / Role
I’ve opted for forward slashes, but other ideas for separators include:
en dashes (–)
em dashes (—)
bullets (•)
Under description, add any additional details you want to provide, such as the theatre company or production company, and the name of the director.
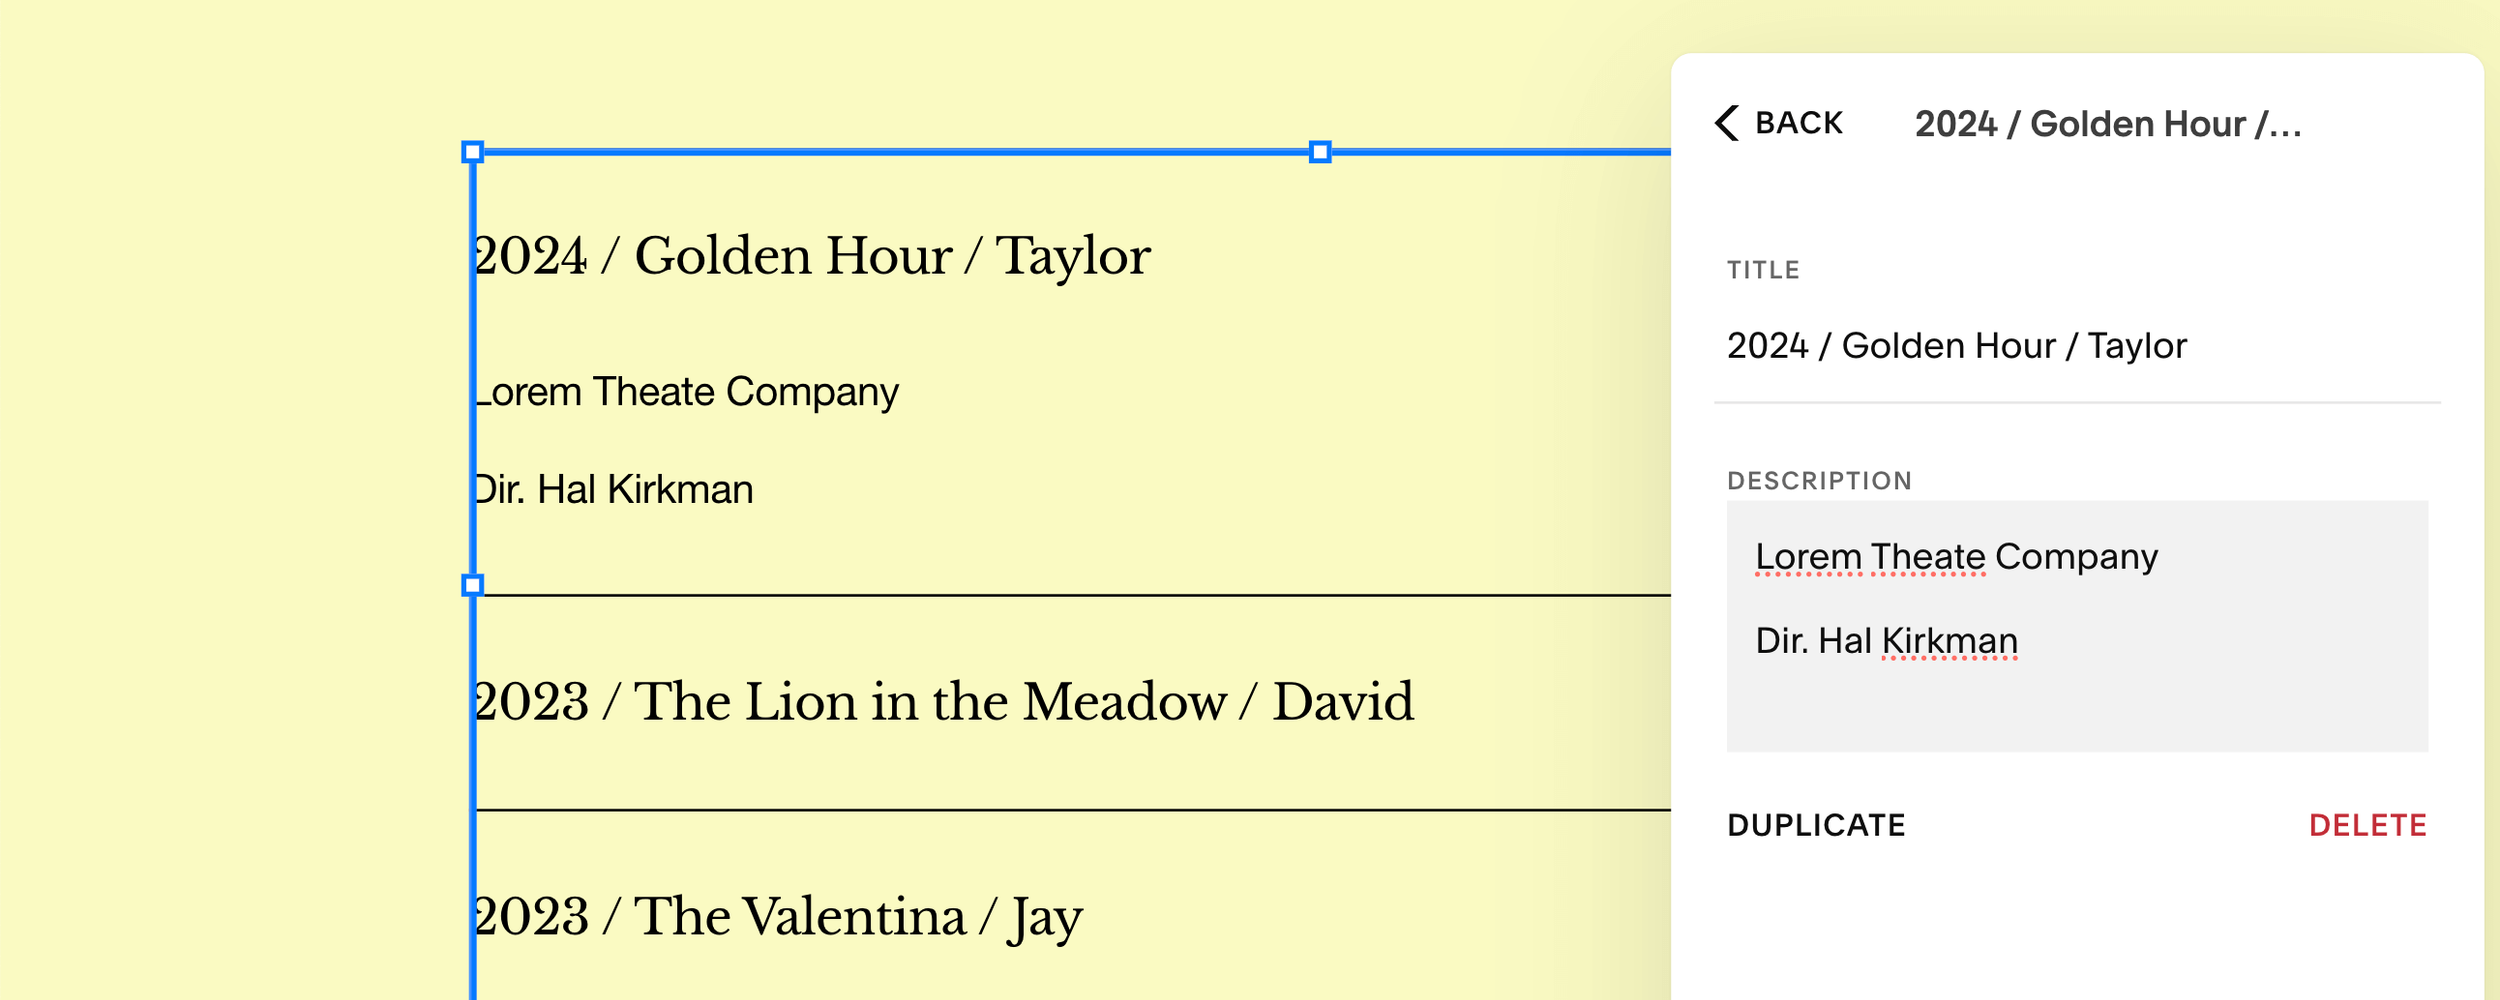
*excuse the typo!


STEP 6. Modify the design settings
If you’d like to change the style of your accordion block, Squarespace 7.1 gives you several design options. To find these settings:
Click the accordion block.
Select the pencil icon ( Edit ).
Navigate to the Design tab.
For this tutorial, I’m going to:
toggle on Allow multiple open items
and change my row padding to S ( small )
STEP 7. Create a column heading for your résumé “table”
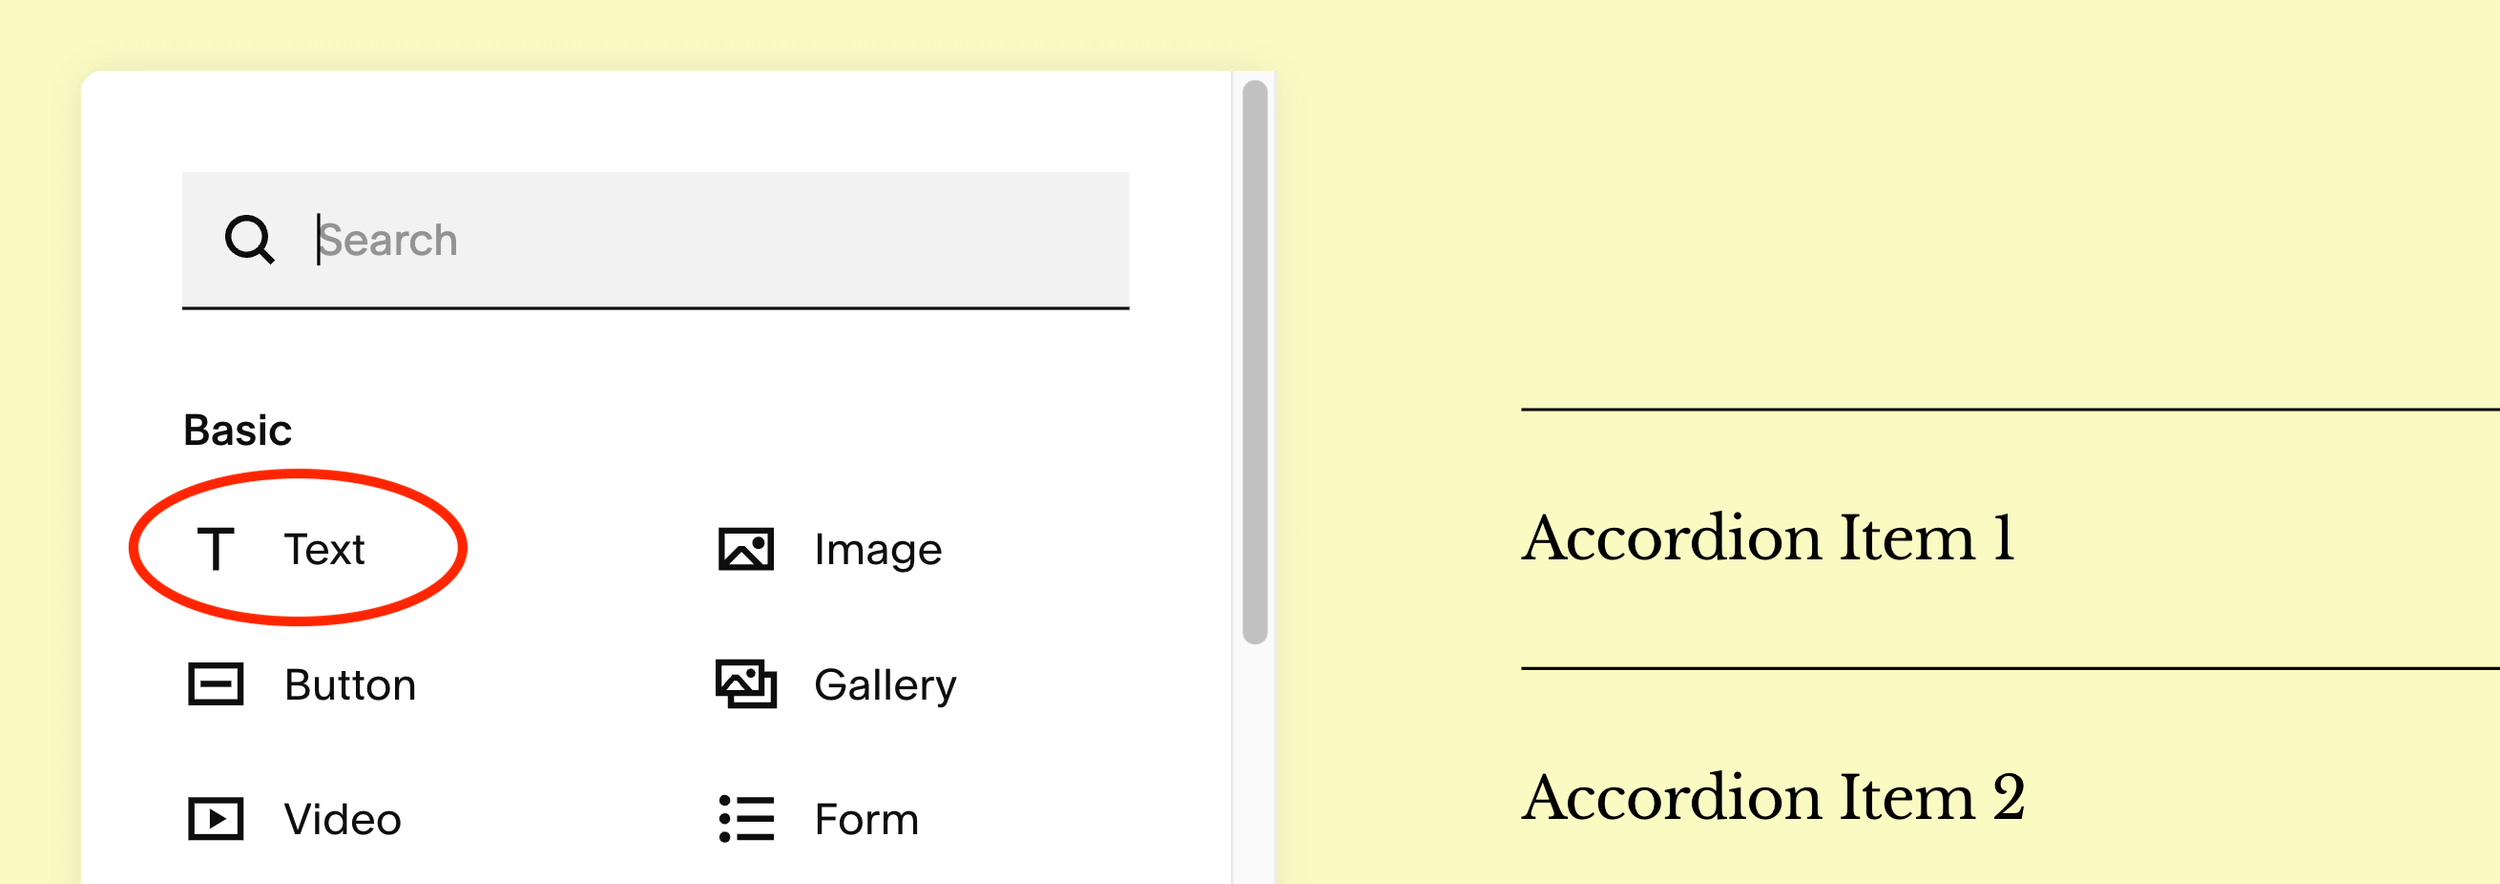
Let’s add a column title to make it crystal clear to your site visitors what information they’re looking at. We’ll use a text block for this.
Hover over the section.
Click Add Block.
Find and select Text.
Edit the block’s text to read “year / title / role” or whatever format you’ve decided upon.
STEP 8. Move and resize the column heading
Click and drag the text block to sit above the accordion block.
Click the handle on the bottom edge of the text block to reduce its height to a single row. The text block should not overlap with the accordion block.
Click the text block > then click Align vertically.
Select Align centre. This ensures the column heading sits nicely in the centre of the row.

STEP 9. Adjust how the résumé section displays on mobile
Finally, it’s important to ensure that your section looks great on mobile. Squarespace does much of the heavy-lifting for us, so all we need to do are a few layout tweaks.
Click the Mobile View icon in the top right corner of the editor.
Adjust the text block to shift it and reduce its height. See 2nd image below for final size and position. Again, you don’t want your blocks to overlap.
For the text block, click Align vertically > select Align centre.
The Final Design
Tutorial complete! Well done! 🤩🏆
You’ve now added a user-friendly résumé/filmography “table” to your actor website!
To take it one step further, add a heading and/or subheading for your section.
The final desktop design
The final mobile design