How to Add a Dropdown Filter to a Squarespace Portfolio
In this tutorial, I’ll take you step-by-step how to create a dropdown category filter for a portfolio website built in Squarespace 7.1.
This step-by-step guide is also useful if you want to learn how to add filters to blog pages.
Don’t want a dropdown filter? If you’re looking for a filtering solution that’s more beginner-friendly, head on over to this tutorial.
In this tutorial:

How can a dropdown filter benefit your website?
Here are a few ways filters can make your site better for your site visitors according to UXPin ↗.
Efficient navigation – filters help your site visitors to find what they’re looking for faster. It gives them a choice to filter out content that isn’t relevant to them.
Reduced cognitive load – that’s a fancy way of saying that filters can help reduce distractions, preventing fatigue and confusion when many options are presented.
Improved satisfaction – well-designed filters can lead users to feel positive feelings of control and choice ↗ when using your website.
I create filters frequently when building film and theatre portfolio sites as a Squarespace web designer.
I think filters are an awesome design feature to include in an online portfolio:
if you work across different mediums or forms
if you’re a multi-hyphenate
if you’ve got a large portfolio + can divide it into different categories
Before you begin
Your portfolio needs to be built in Squarespace 7.1 using a blog page
If you’re building a portfolio site in Squarespace, I recommend using a blog page for your main portfolio page. Use blog posts for your projects pages.
You can add filters to blog pages, which are what I predominantly use to build custom portfolio sites for clients and when designing premium templates for selling.
Although Squarespace has a type of page called a portfolio page, I don’t usually recommend using one to design filmmaker/theatre portfolios in Squarespace 7.1.
A major reason is that you can’t add categories or tags to portfolio pages. I’ve gone into the differences between blog pages vs portfolio pages in SQSP in a previous article. You can check that out over here.
Blog pages are made up of:
a landing page, which displays all of your posts
individual blog posts, which are sub-pages of the landing page
Your projects need to be categorised
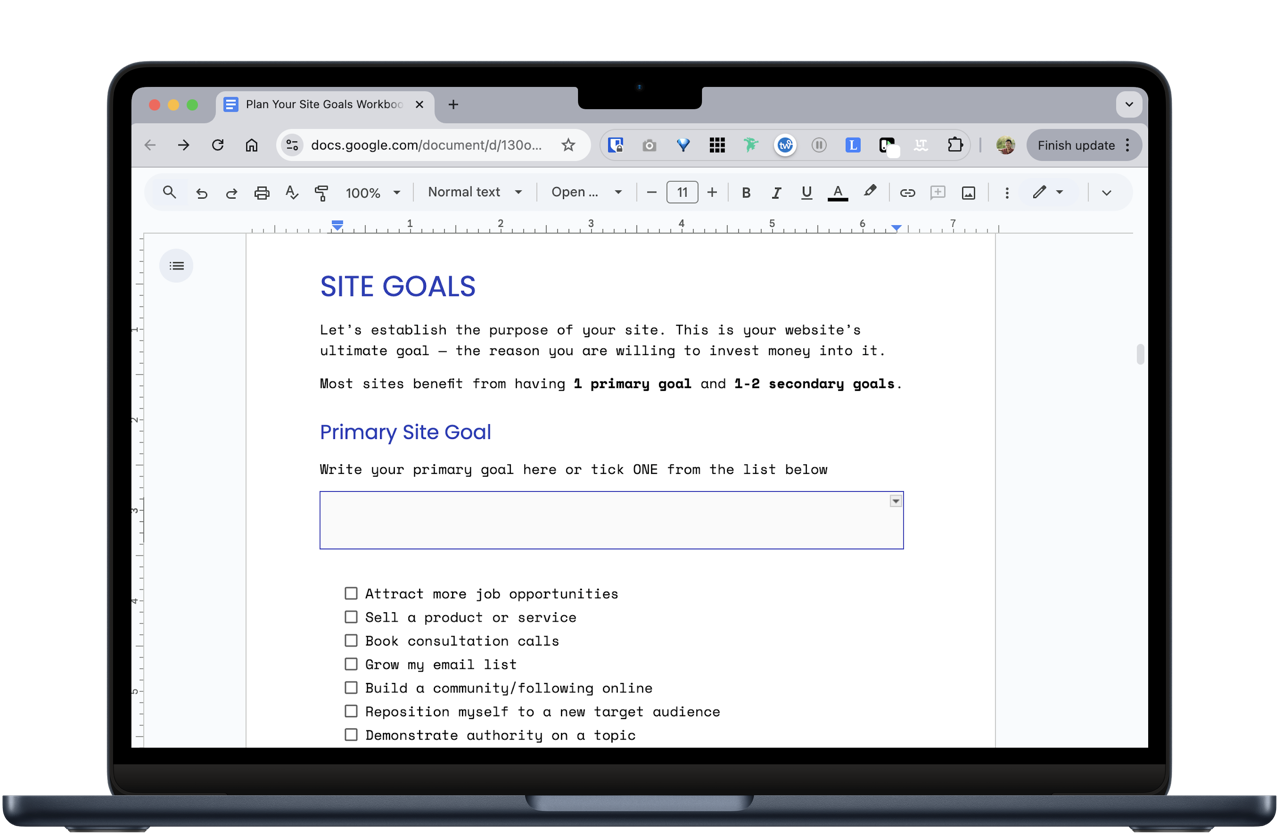
Before you create a filter, make sure that you have added categories to your various projects.
In practical terms, you’ll need to have gone into the blog post settings for each post and assigned it to a category.
In my tutorial demo, I’m going to be working on a writer/director portfolio. My projects fall under the categories feature, short, commercial and music video.


Tutorial
In this tutorial, you’ll learn how to create a dropdown category filter on a blog landing page.
Best practice is to add category filters above/before results. If you’re building a portfolio site in Squarespace, I recommend having it near the top of your page, above the blog section.
The type of blocks we will use are:
an archive block, and
a button block
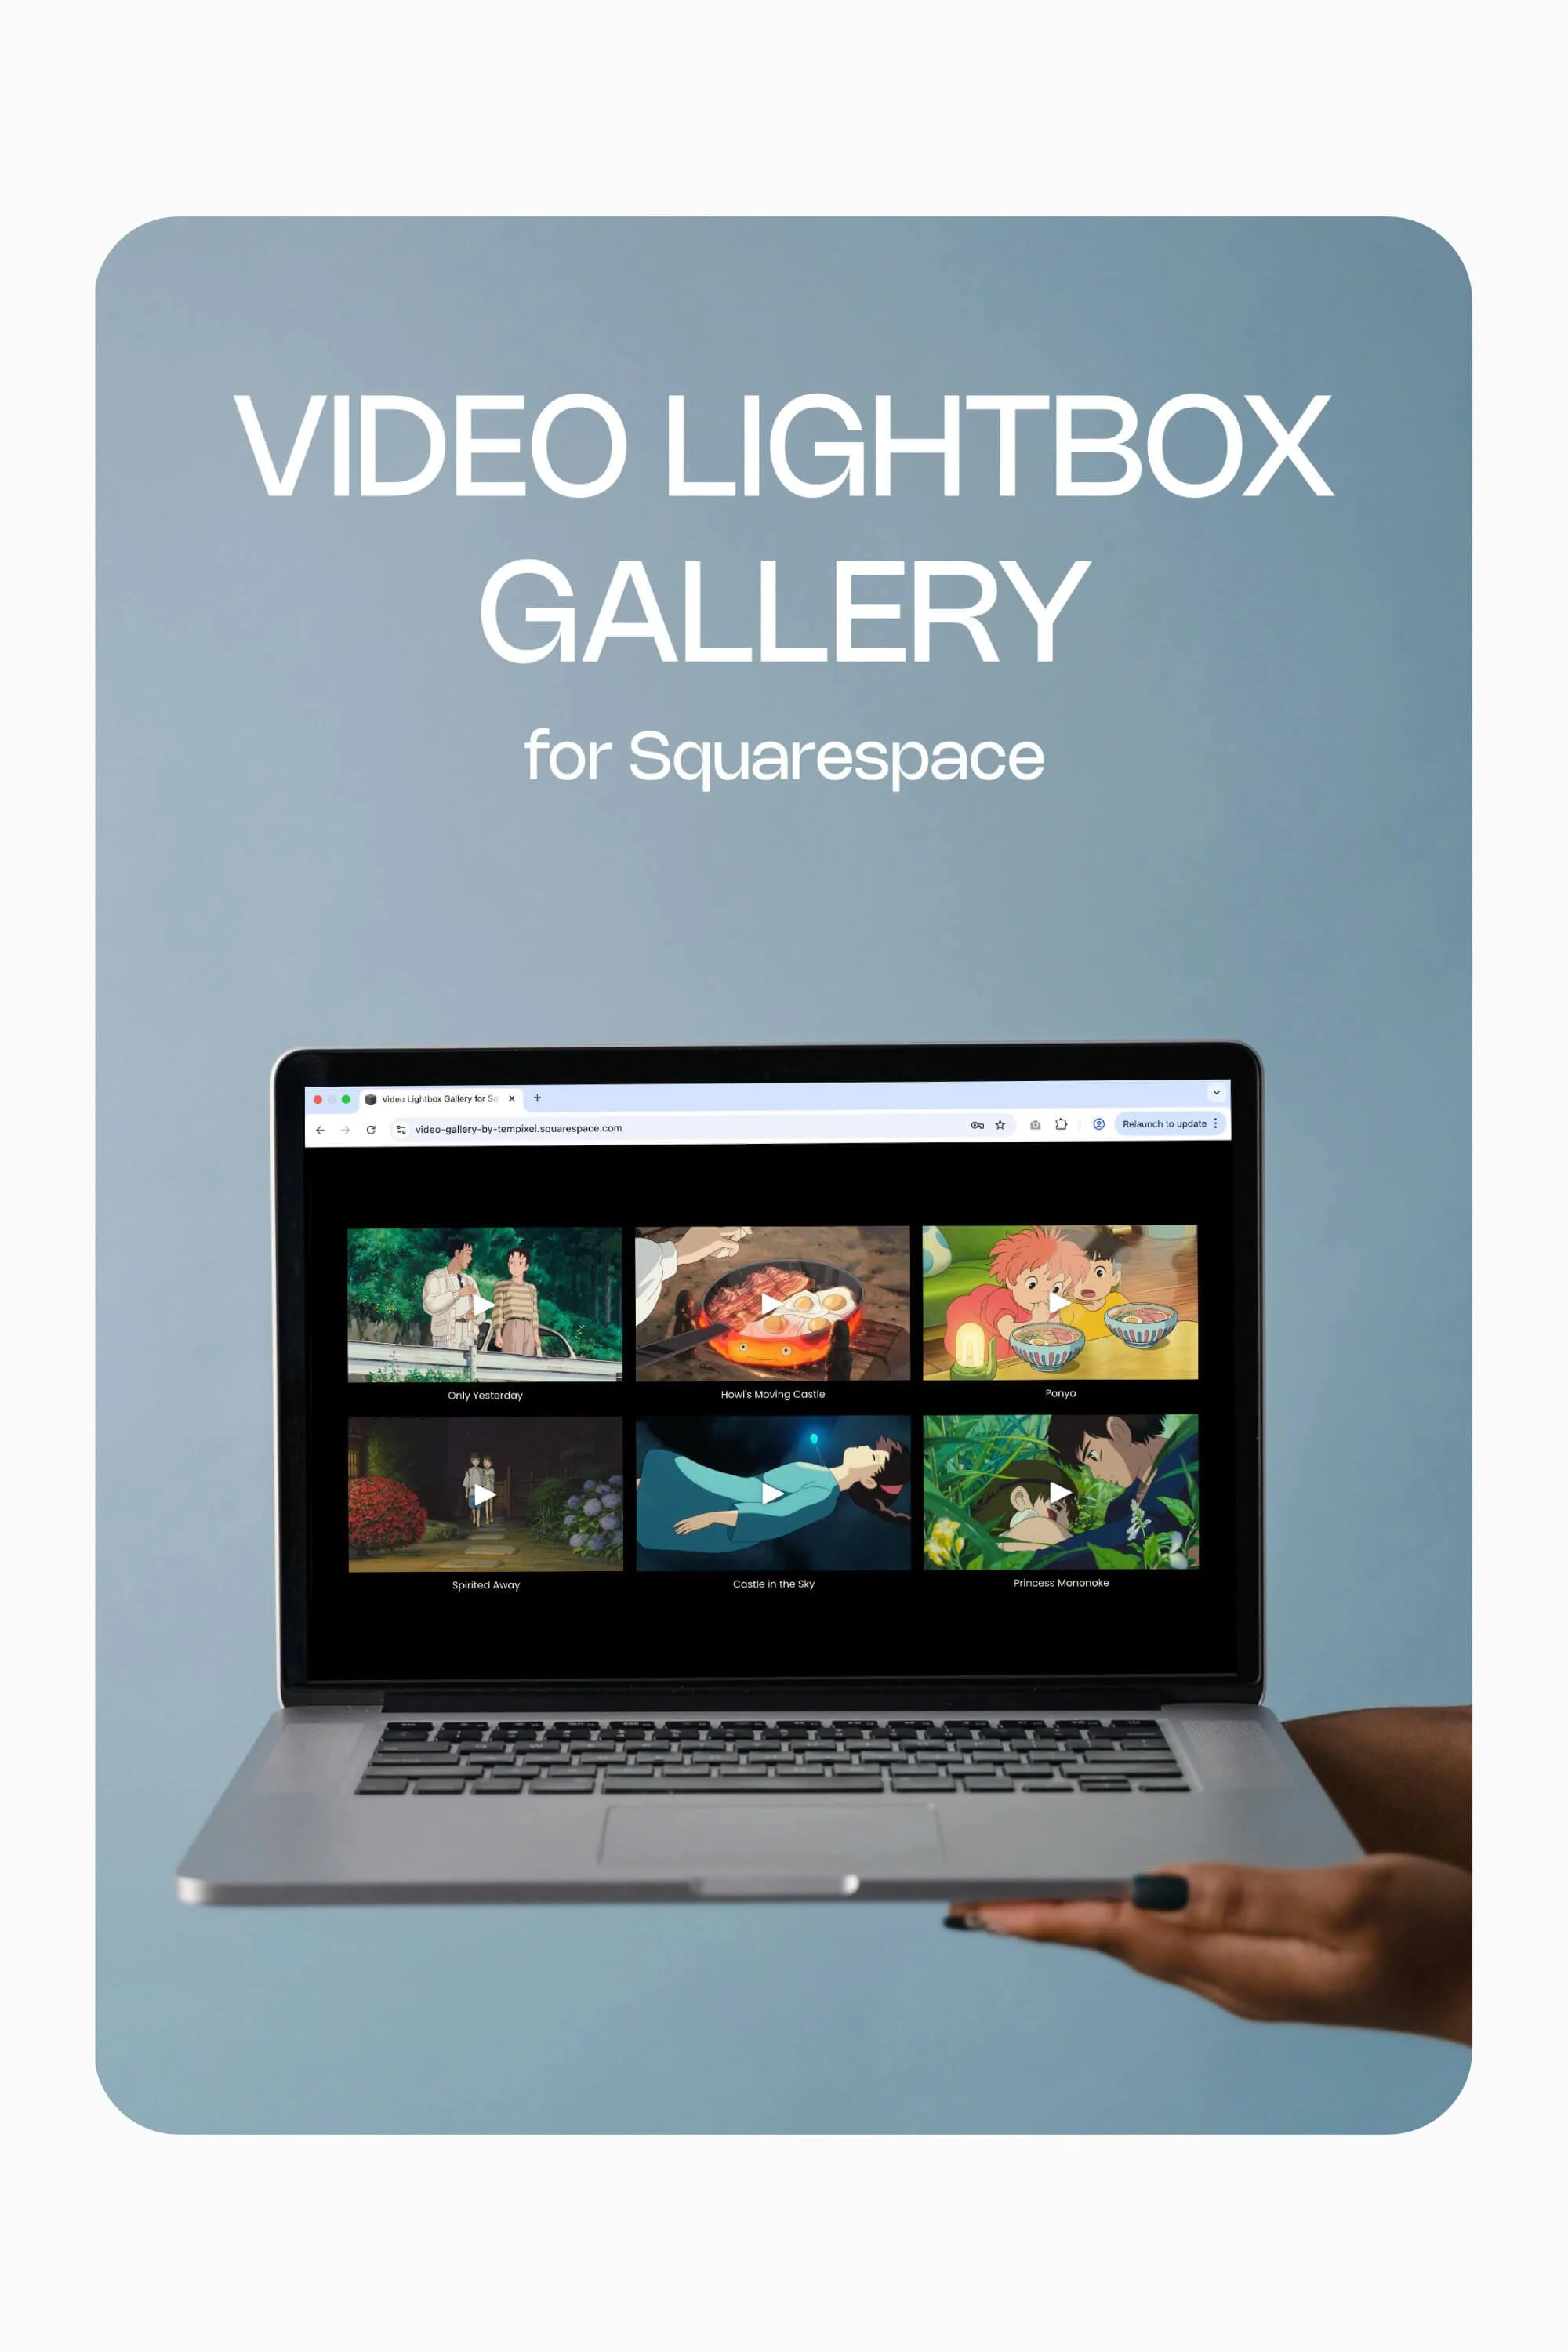
The end result will look similar to this screenshot (but will match your site’s colours and fonts, etc):
STEP 1. Add a blank section
You’ll need a page section above your blog content to build your category filter in. This section can also include the main heading of your page.
🐰 Skip to STEP 3 if you already have a section in place.
At the top of your landing page, hover over the page.
Click Add Section.
Click Add a blank section.
STEP 2. Change the section colour
Like me, you may find that this newly created section is a different colour to the section below it. If you want the colour to match or you just want to pick a different section colour:
Hover over the section.
Click Edit Section.
Navigate to the Colours tab.
Pick a colour theme for your new section.
STEP 3. Add an archive block
We’re going to create our category filter using an archive block.
Hover over the section.
Click Add Block.
Scroll down to find and select Archive.
STEP 4. Select a page for the archive block
Click the pencil icon ( Edit ) for the archive block.
Select the blog page with your work from your site’s available options.

STEP 5. Change the layout to dropdown
By default, the layout of archive blocks is set to display as an index. But we want to change the layout setting to a dropdown.
Navigate to the Display tab.
Under Layout, select Dropdown.
STEP 6. Change how links will be grouped
Next, we want to set the archive block to organise your blog post links by category.
From within the Display tab, find Group By.
Select Category from the dropdown list.
STEP 7. Change the dropdown title
Change the default Dropdown Title to one that’s more appropriate and avoids confusion, e.g. Category.
STEP 8. Resize the archive block
Great! You should now have a dropdown filter on your page.
But if you’re like me, you may need to adjust the sizing of your block and page section. My archive block is super long, having inherited its size from when it was set to list layout.
Click on the archive block to exit out of its settings.
Scroll down to the bottom of the archive block.
Hover over the bottom edge of the block at its centre. Look for the handle, which should appear. It looks like this:
Drag the bottom of the archive block upwards to resize it. You may need to do this in increments—until a red line appears, indicating the minimum size that the block can shrink to.

TIP: If your dropdown filter is open when you’re resizing it, I recommend that you close the dropdown so you can resize it to its smallest size. You may find that you need to Save, and exit your page to force the filter to close.
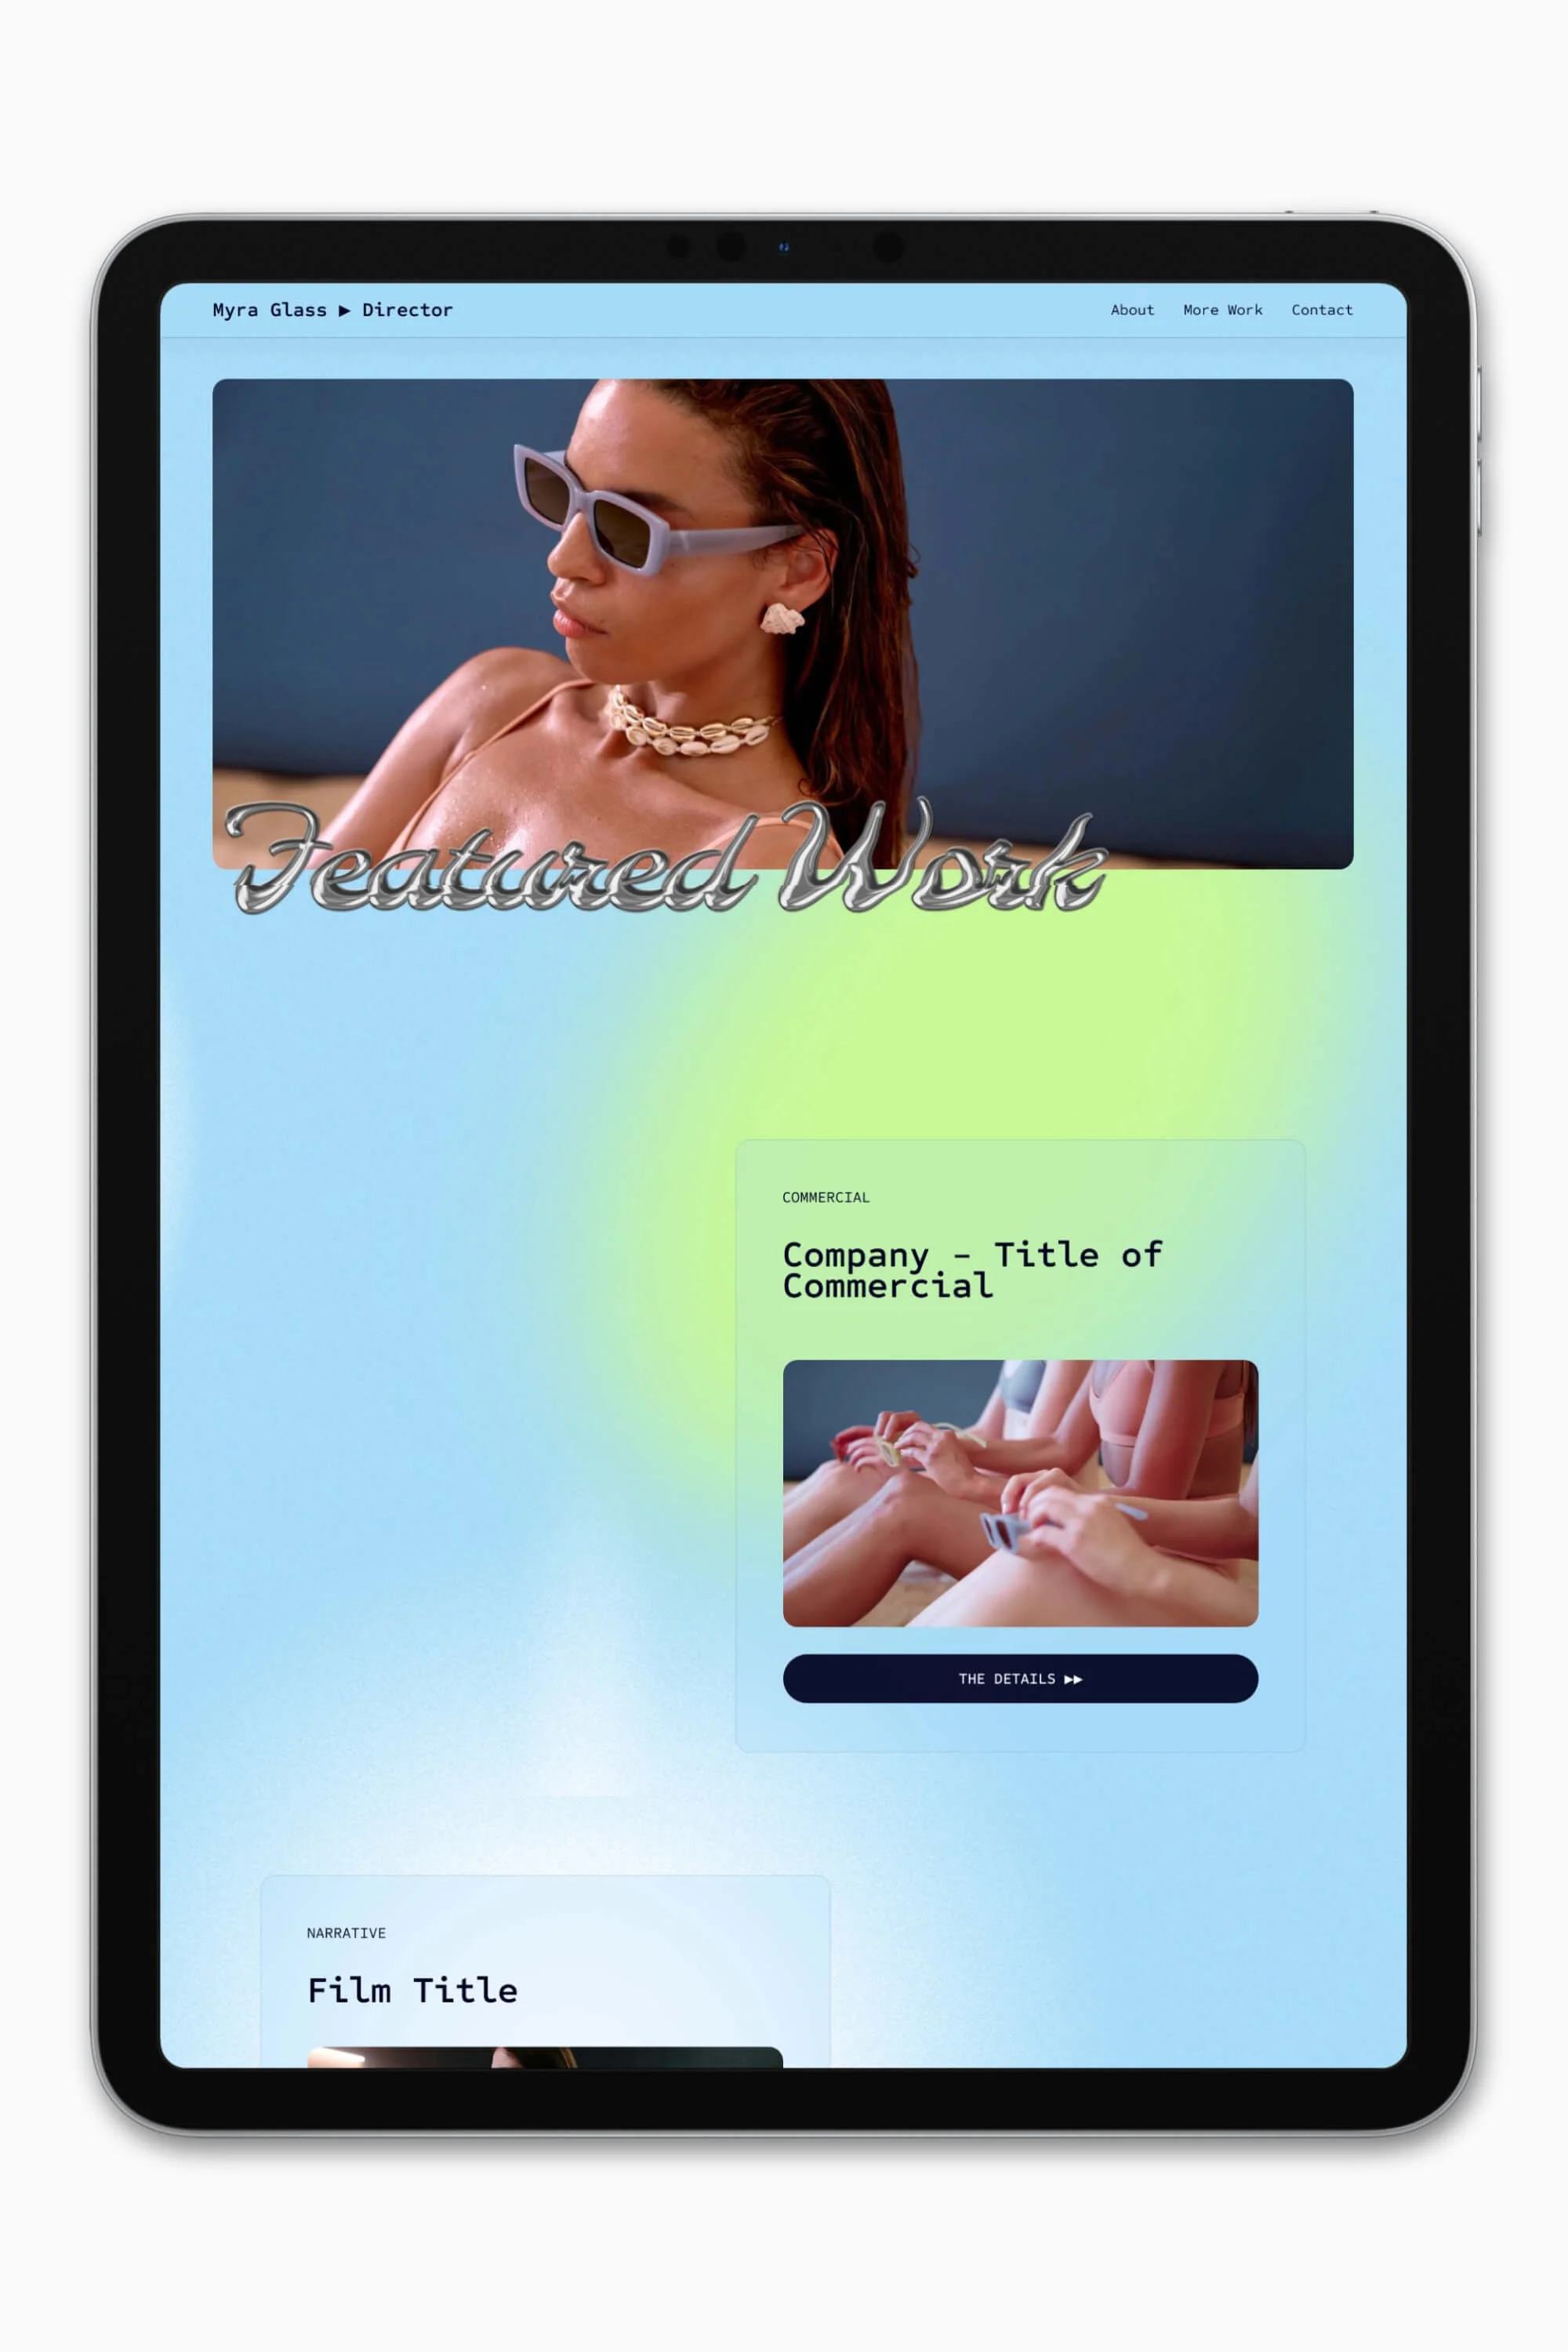
The dropdown category filter when open
STEP 8. Resize the section
Let’s now shrink the height of your section.
Scroll to the bottom of the section.
Hover over the section.
Click the resize section slider. Then, drag the section upwards to decrease the section’s size. Red lines should appear around your archive block, when you hit the section’s minimum size.
STEP 9 (Optional). Reduce the section’s height
I don’t want the section with my category filter to take up so much screen real estate. So, I’m going to reduce the height of my section according to my preferences.
Hover over the section.
Click Edit section.
Change the height setting to S (small).
Creating a button to clear the filter
In this tutorial section, I’ll show you how to improve the user interface (UI) for your dropdown filter in Squarespace 7.1.
The dropdown category filter doesn’t come with a built-in option for site visitors to clear the filter after picking a category.
This can frustrate your visitors, who’ll need to either hit their browser’s back button (potentially, several times) or use your navigation menu if they want to get back to the blog landing page.
This can easily be solved by adding a button. Let me show you how.
STEP 10. Add a button block
Hover over the section that contains your category filter.
Click Add block.
Select Button.
STEP 11. Place the button
Now drag your newly-created button to the side of your category filter. I’d recommend placing it on either the left-side or right-side of your filter, along the same rows.
STEP 12. Change button text
Let’s change our button text to display a more suitable call to action.
Click the button block.
Click the pencil icon ( Edit ).
Edit the text. My picks would be:
View all
Clear filter
STEP 13. Add a button link
Click Attach Link.
Select your blog landing page. You can select from the dropdown or search for the link.
STEP 14. Select a button design
🐰 If you like your current button style, skip this step.
When I’m designing, I prefer to change my ‘filter button’ to a Tertiary Button, as I usually set this design (in Site Styles) to be my most compact button. I’m going to:
Navigate to the Design tab.
Select Tertiary Button.
Change the button from Fill to Fit.
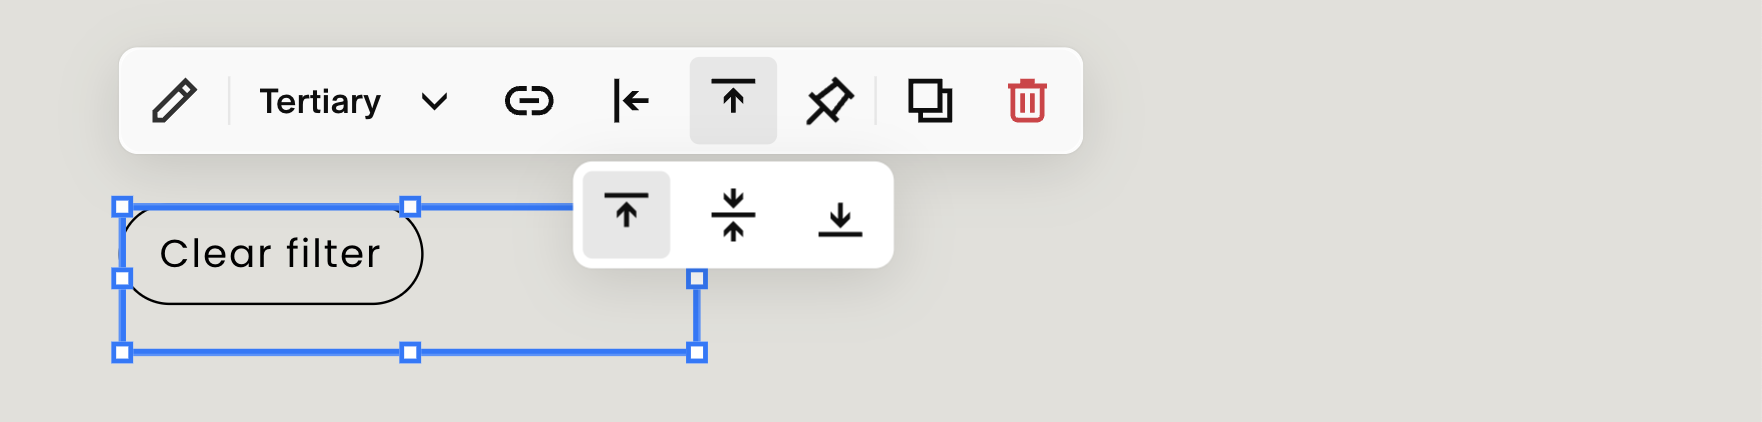
How my button looks after changing its design settings.
STEP 15 (Optional). Adjust button alignment
Personally, I don’t like the extra horizontal space between my category filter and button.
Therefore, I’m going to left-align my button. But this shall depend on whether your button is on the right or left of your category filter.
Click the button block.
Click the Align Horizontally option in the toolbar.
Select Align Left.
STEP 16 (Optional). Adjust category filter alignment
I’m also going to finesse my filter’s alignment with my button. Because I set my section colour to Bright, I’ll temporarily change it to a different background colour to illustrate my point.

Not aligned ☹️
As you can see above, the filter and button don’t line up straight. Here’s how you can align them perfectly:
Click your filter.
Click the Align Vertically option in the toolbar.
Change it to Align Centre.

😄 Much better!
Hit Save to preserve your changes.
How to stop a dropdown list from pushing content down in Fluid Engine
In Squarespace 7.1, you may notice that archive blocks, when set to Dropdown, will push your content downwards when the dropdown is open.
Now, if you don’t like this, and you’re open to adding a bit of custom code (CSS) to your site, I’ll teach you how to prevent this in the next section!
I’ve changed my section colour to black and grey as we continue on with this tutorial, because in hindsight, you can’t see the filter background with my present colour theme! 😅
STEP 17. Change button alignment to top align
To improve the alignment of the ‘Clear filter’ button with the category filter once we add code, we need to change the button’s vertical alignment.
Click the button block.
Click the Align Vertically option in the toolbar.
Select Align Top.
STEP 18. Navigate to the Custom CSS panel
Save your changes.
Exit out of the page editor.
Hit forward slash ( / ) on your keyboard to bring up Search, or locate the search icon in your left main menu.
Click Custom CSS to open the Custom CSS panel.
Using search to find the Custom CSS panel faster
STEP 19. Copy-paste this CSS code
Copy the below code into your Custom CSS panel.
/*Stops Dropdown Filters pushing content down*/
.archive-block-wrapper.archive-block-setting-layout-dropdown {
  position: absolute;
  top: 0px;
  width: 100%;
  background-color: rgba(243, 243, 243, 1)!important;
}
STEP 20. Decide on a filter background colour
You can change the background colour of your category filter to match the style of your site. For this, you’ll need to first pick a background colour and find its RGB value.
With my example, I’m going to pick a colour that’s a bit lighter than my section colour to make it stand out a bit. But you could also pick a background colour that’s slightly darker.
As a starting point, find the hexcode for your section’s colour theme. You can find this under Site Styles > Colours > Edit Palette.

Then, open this free RGB Color Picker ↗ tool, which will help you pick a colour and find its RGB value.
Paste your hexcode into the tool.
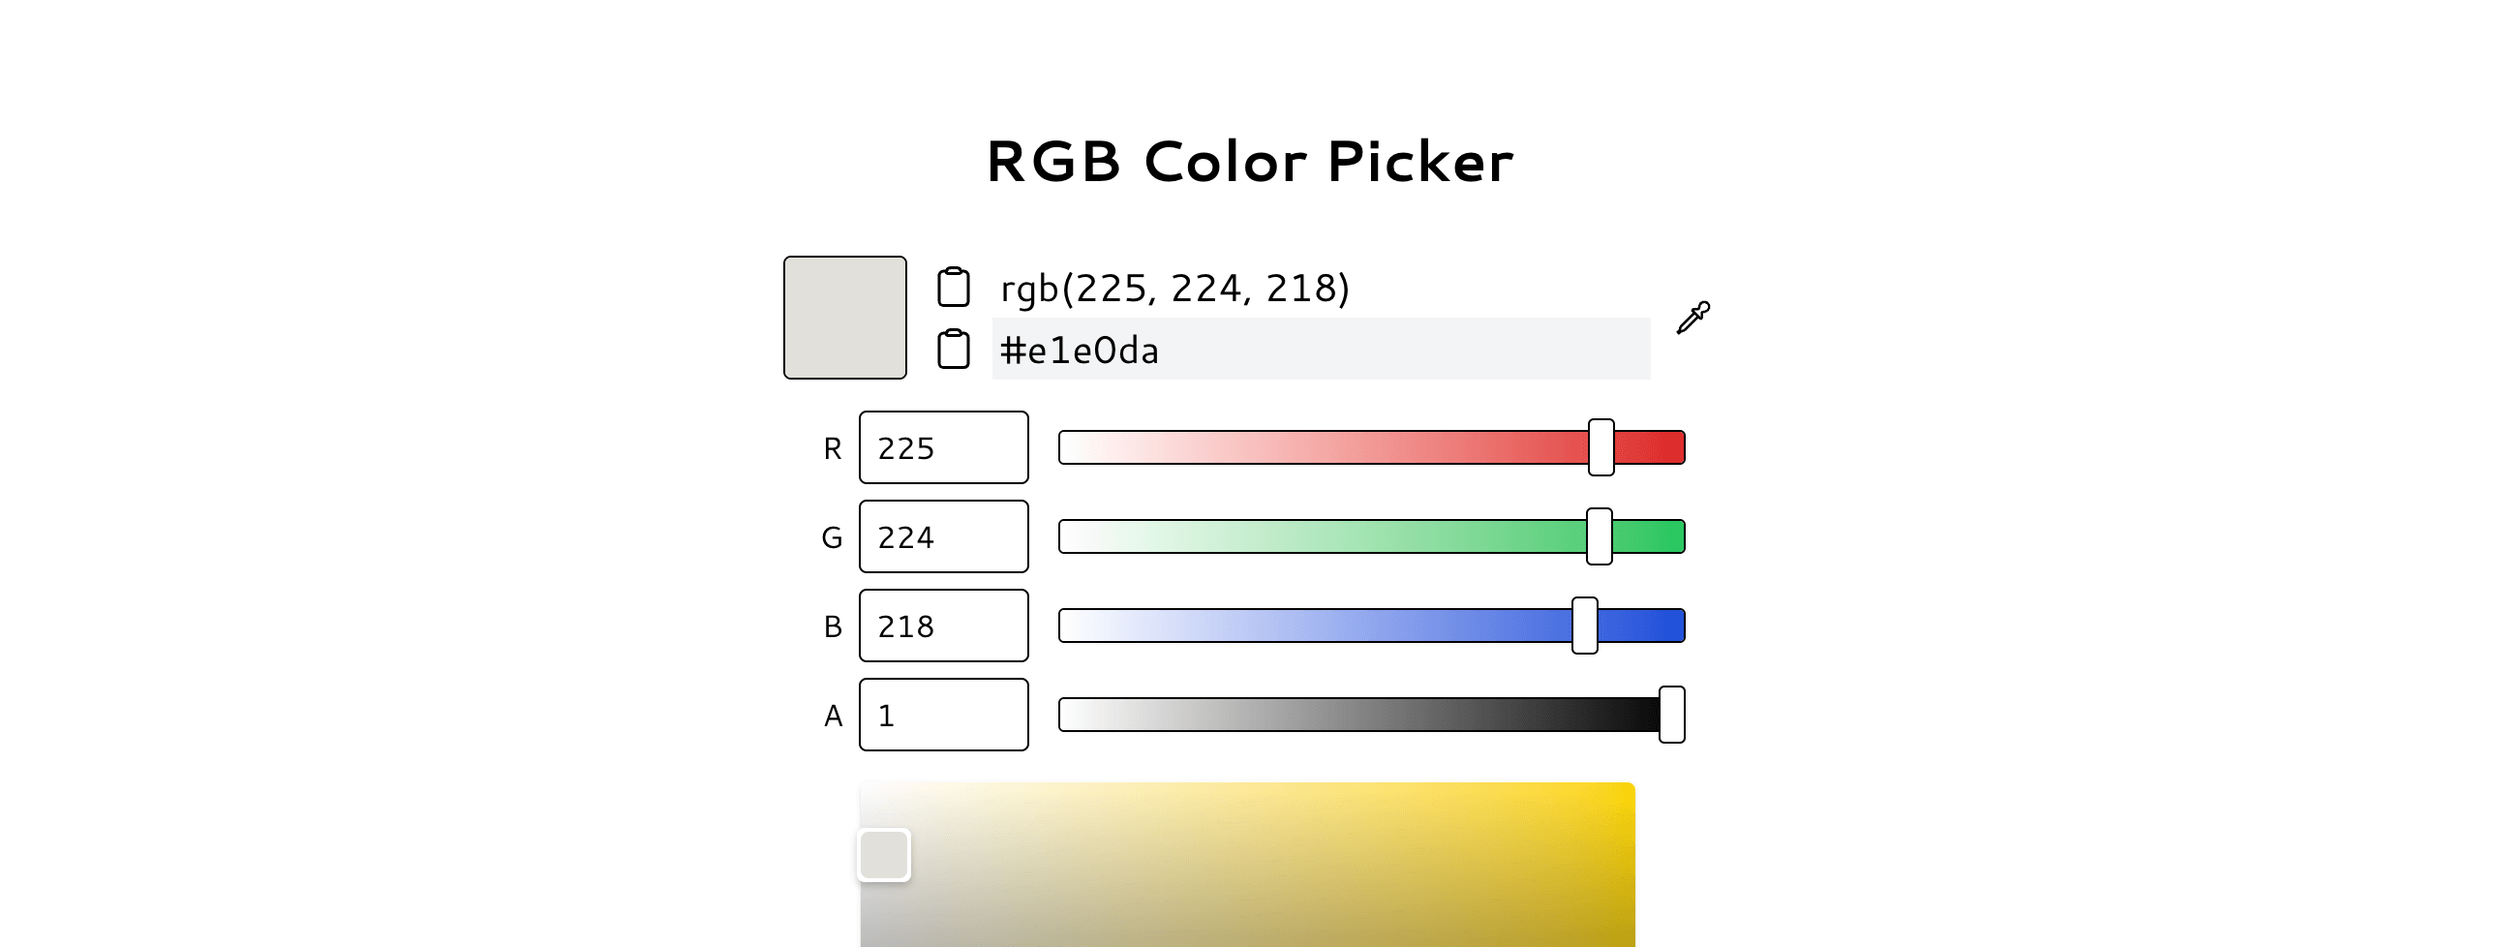
Drag the colour picker slightly upwards to pick a lighter colour. (Or downwards for a slightly darker colour.)
Jot or note down your 3 RGB values.
STEP 21. Modify the colour in the code
Returning to the Custom CSS panel, locate the code that reads:
background-color: rgba(243, 243, 243, 1)!important;
Modify the 1st 3 values inside the brackets to your RGB values.
‼️ FYI, the 4th number sets the alpha channel, which determines opacity/transparency. By default, the background colour of dropdown filters are transparent, so if it overlaps other content when the filter is open, it can look like a design flaw. Hence, why the code sets the colour to opaque (value: 1).
You’ve finished the tutorial. Amazing work! 🏆🙌 You’ve now improved your portfolio’s UI, giving your visitors a more satisfying experience.
Can I create more than one filter for my portfolio?
Yes, you can create up to 5 different filters per blog page in Squarespace 7.1. Under an archive block’s Group By options, each filter can be set to one of the following:
Month
Year
Author
Category
Tag
In practice, you can’t create more than one Category group.
If you want a second filter to organise your portfolio (e.g. filter #1 for project category, filter #2 for project status), you can use tags. This essentially limits you to up to 2 custom filters. Like this example on our Best Theatre + Film Sites page.