5 Ways to Add Video to Your Squarespace Site
As a filmmaker or crew member, you’ll of course be wanting to share videos on your online portfolio of what work you’ve done.
There are actually a lot of ways to add video to a Squarespace site.
Let me take you through what I think are the 5 simplest methods for adding video to a site in Squarespace 7.1 that uses Fluid Engine.
In this post:
For a 6th method, see: GDPR Privacy: How to Correctly Embed YouTube Videos in Squarespace.
While most of these methods use Vimeo and YouTube in terms of third-party video platforms, know that you can use other methods to embed videos from different platforms.

How to embed a Vimeo or YouTube link with video blocks

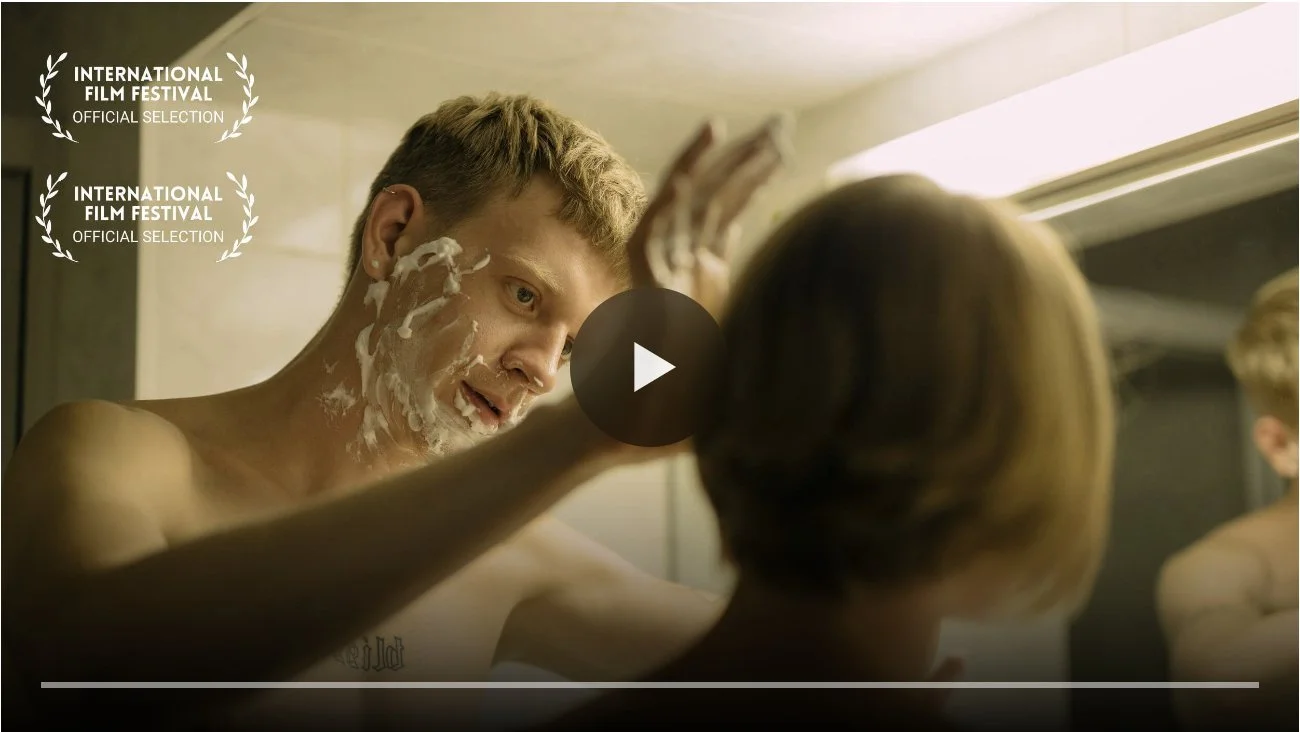
Clickable example of the end result.
This method is my favourite one for adding video blocks. It’s so wonderfully simple. No distracting video player controls or channel descriptions blocking the image. Just a minimal yet clear invitation for people to play your video 👌.
Once a visitor clicks the video, they can still access its info and player controls when they hover or move their mouse over the video.
In Squarespace 7.1, you can add single videos with this method wherever sections are available, including on pages, portfolio pages and portfolio sub-pages, and to posts (as you can see in the above example).
TUTORIAL
STEP 1. ADD A VIDEO BLOCK
If you’re editing a section, click the button Add Block > Video
If you’re editing a blog post, click an insert point (+) > Video
STEP 2. ADD CONTENT
In the pop-up window, click Add a Video > Add from Link.
Now copy and paste across your video URL from either Vimeo or YouTube.
Squarespace will automatically check that your link is ready to use or let you know if there’s an issue retrieving your video. In the case of the latter, double-check your URL is correct.
Then click on Add. Your video will now appear on your site and display with the video player buttons.
Although Squarespace provides some video settings for video blocks, including options to hide player controls, these settings are only available for videos uploaded directly to Squarespace (see Method 2).

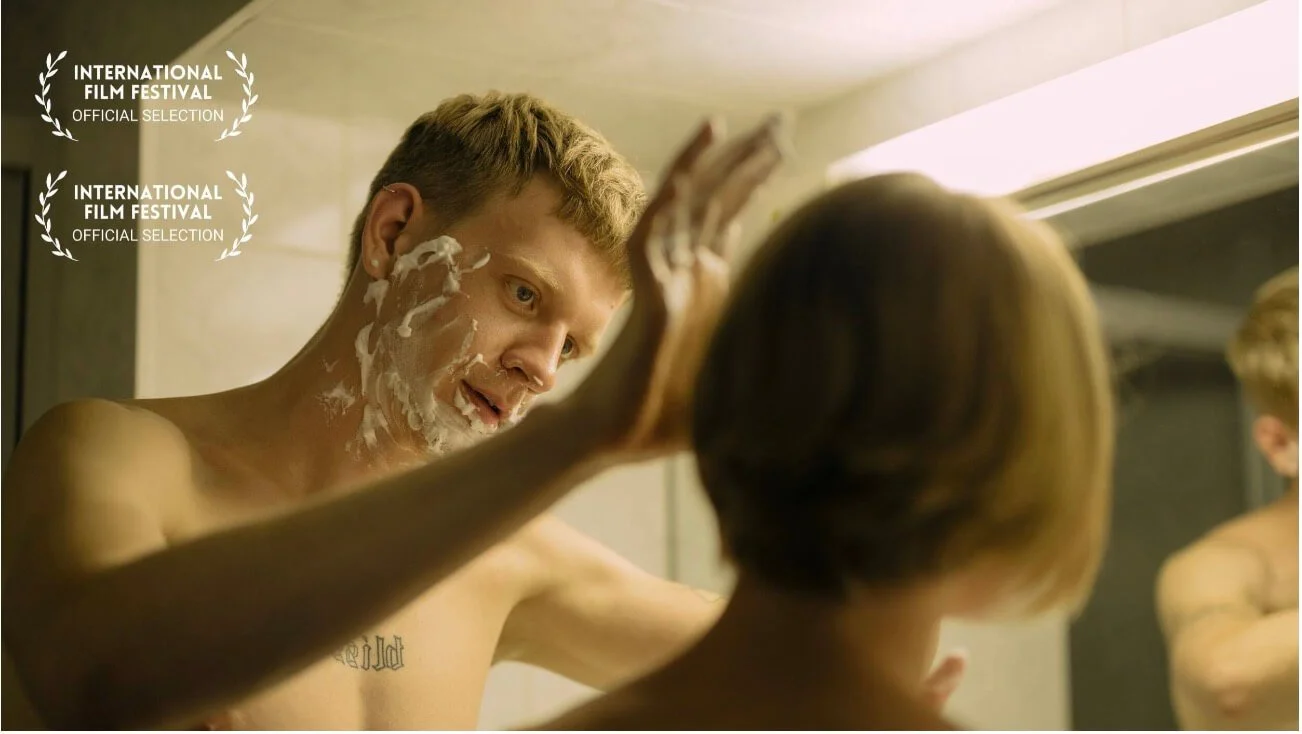
Appearance of a video block without a custom featured image.
You could choose to stop here if you don’t mind a bit of busyness. But if you want to get that clean, minimalist look, there’s one more key step to make!
STEP 3. ADD A CUSTOM FEATURED IMAGE
You will need to have handy a high resolution image from the project, e.g. a marketing still or screenshot.
For best results, use an image that is:
2500 pixels wide,
Under 500KB, and
cropped to a 16:9 aspect ratio

Where to upload a custom featured image.
Once you’ve optimised your image according to these guidelines, toggle on Custom featured image in the Content pop-up window to upload it.
And you’re all done!
How to upload a video to Squarespace with video blocks
Example of a video uploaded to Squarespace with a custom featured image.
All Squarespace plans come with 30 minutes of video storage.
Video blocks only support URLs from YouTube or Vimeo, so if you don’t have access to either of these platforms, you can host your videos directly on Squarespace.
This method is effective if you want to have a video, such as a showreel, that autoplays on mute.
TUTORIAL
STEP 1. ADD A VIDEO BLOCK
If you’re editing a section, click the button Add Block > Video
If you’re editing a blog post, click an insert point (+) > Video
STEP 2. ADD CONTENT
In the Content pop-up window, click Add a Video > Upload file.
Main video specifications to note:
File types accepted: .mp4, .m4v, .mov
Max file size: 500 MB
See this article to learn more about video specifications when uploading to Squarespace.
The video may take a little while to upload. When it’s done, your video will display with the first frame of your video, which is a little awkward if your video, like mine, starts from black.
STEP 3. ADD A CUSTOM FEATURED IMAGE (RECOMMENDED)
Just like method 1, if you wish to customise the video’s thumbnail, you will need to have an image to use.
For best results, use an image that is:
2500 pixels wide,
Under 500KB, and
cropped to a 16:9 aspect ratio

Example of how an uploaded video will look with a custom featured image + player controls set to all.
STEP 4. CUSTOMISE THE PLAYER CONTROLS (OPTIONAL)
Available options are:
Mute video
Autoplay
Loop video
Player Controls: All / Minimal / None
What an uploaded video with player controls set to minimal looks like. Visitors can scrub through the video.
Limitations: Visitors won’t be able to mute/unmute the video or go fullscreen.
What an uploaded video with player controls set to none looks like. Visitors can play/pause with a click.
Limitations: Without any controls, visitors cannot scrub through the video, choose to mute/unmute or go fullscreen. Personally, I’m not a fan of this stripped back option as it doesn’t indicate to visitors that it’s a clickable video and could easily be missed.
All in all, method 2 is not complicated and offers some aesthetically pleasing results.
Just be aware that while it gives you a few more video settings to play with, it may limit your visitor’s options. At the end of the day, your website is for your visitors, not you.
How to add a video background

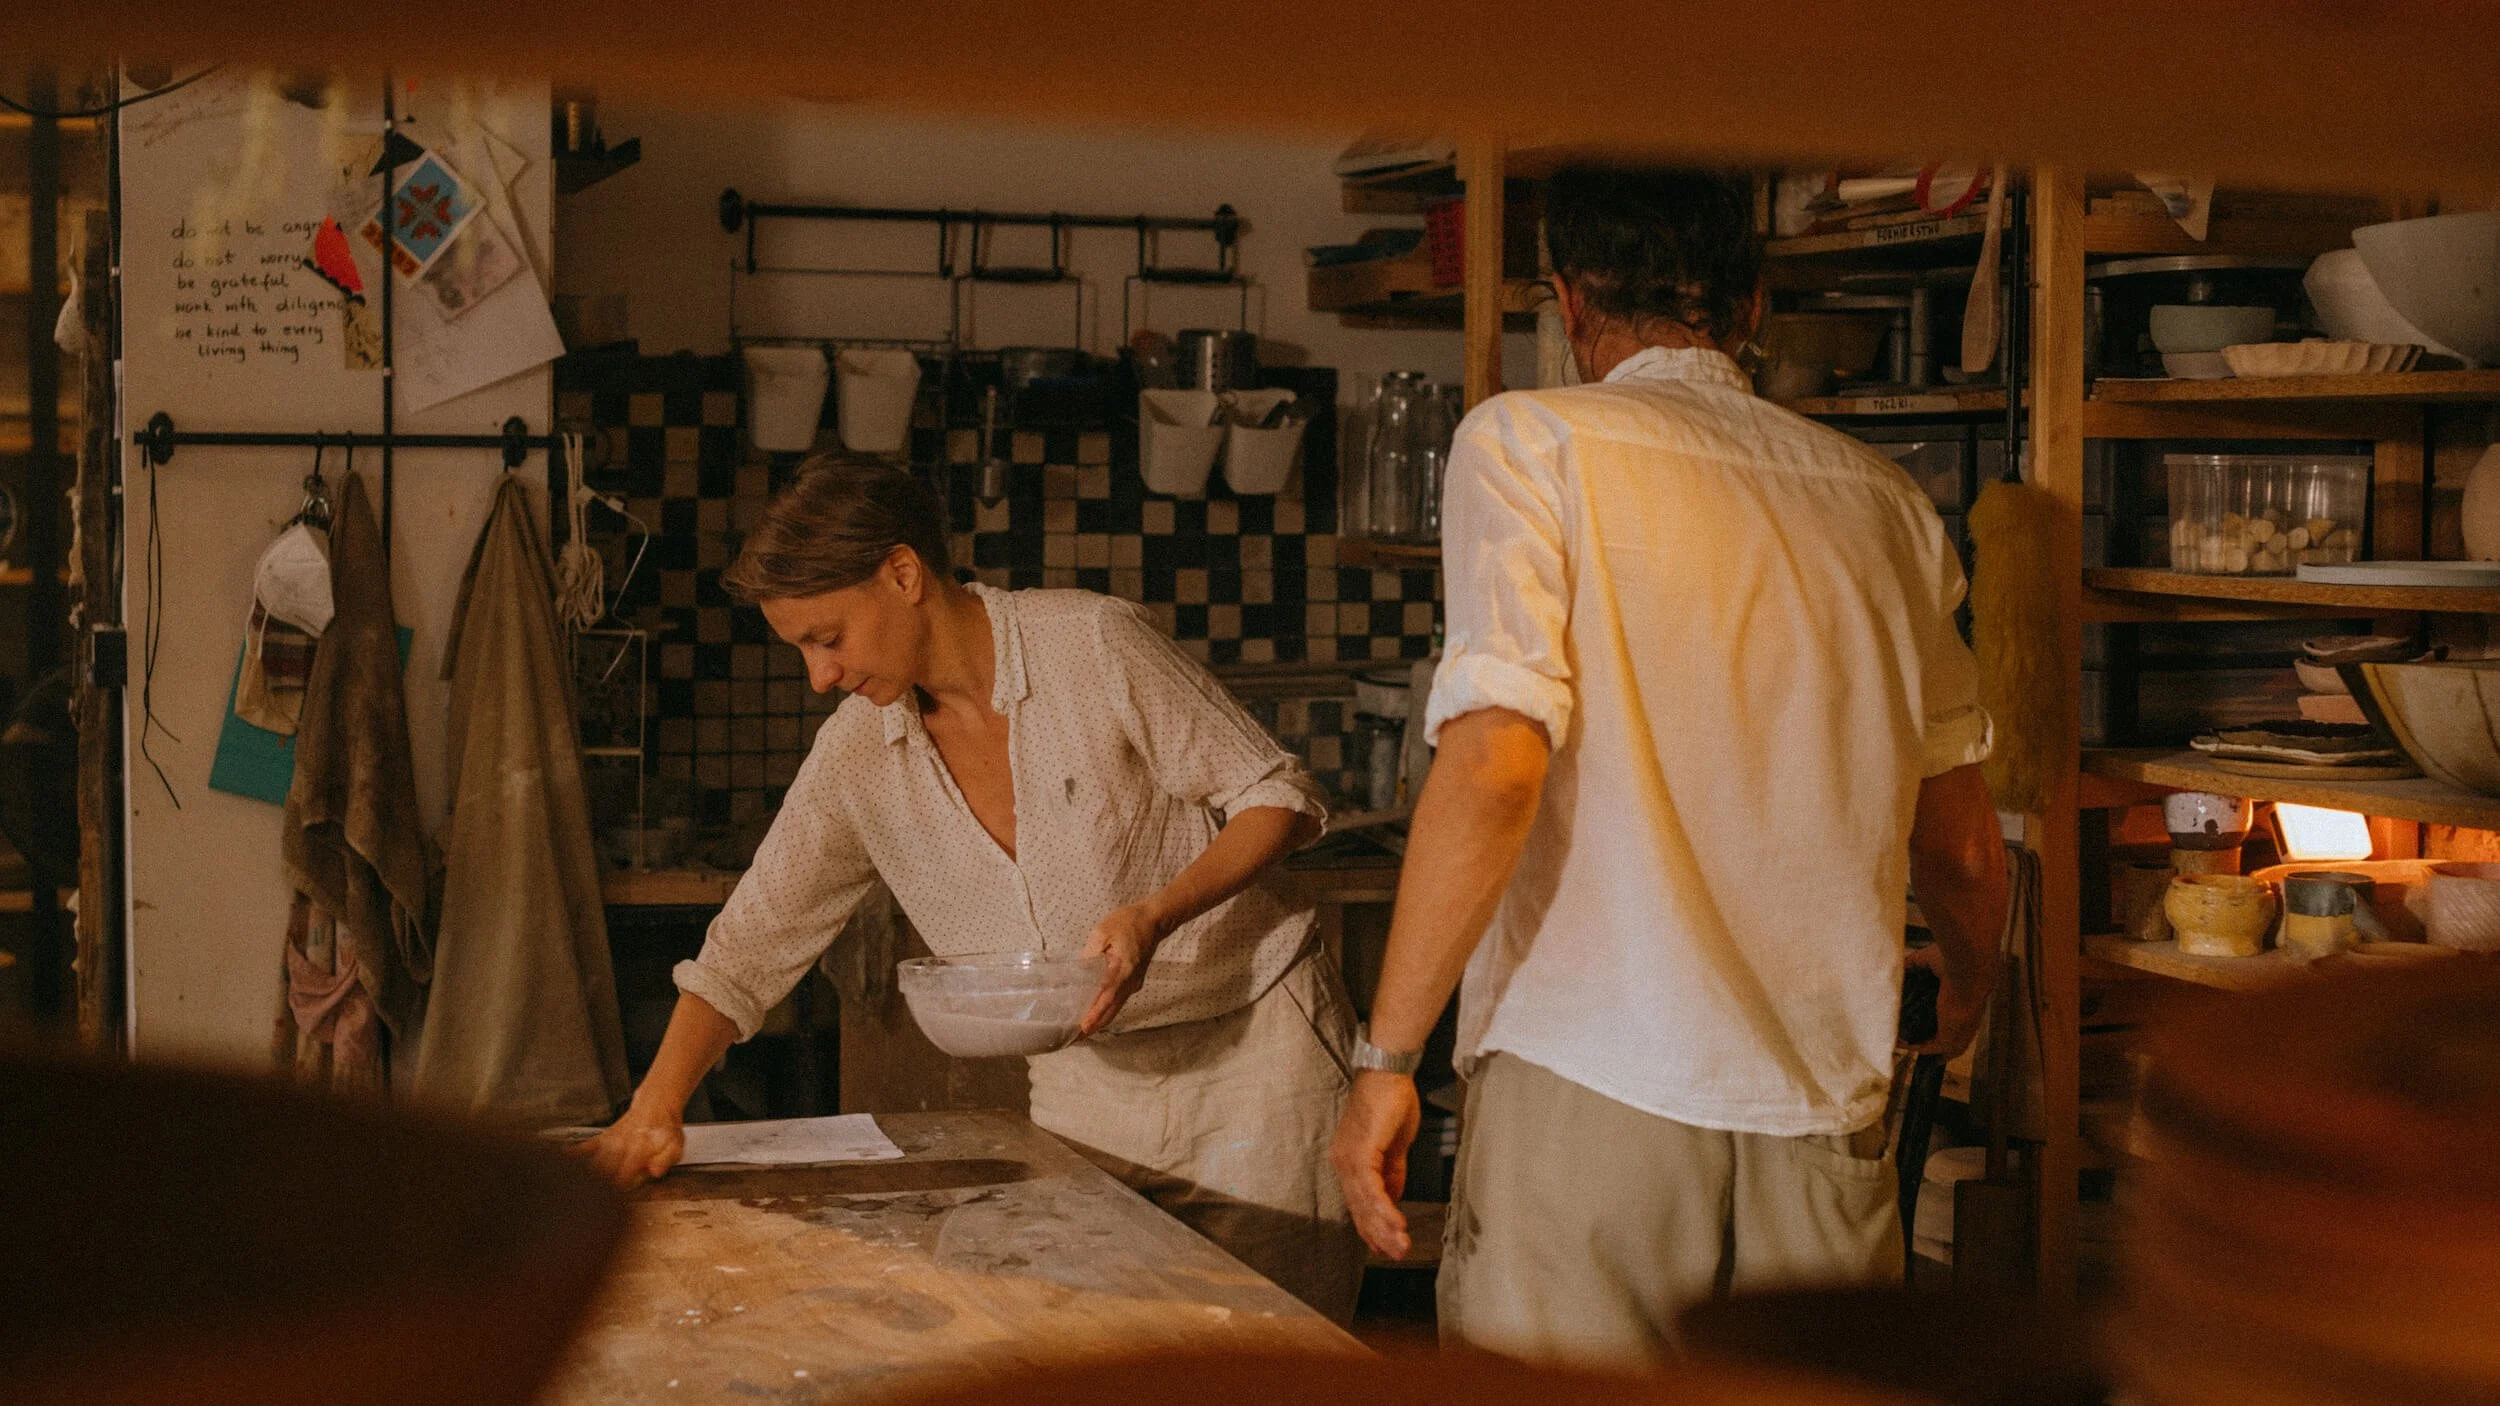
Example of a video background where I’ve added a heading (the video title) on top that links to the project’s page.
In this third tutorial, I’ll take you step-by-step through how to add a video background to a section. With this method, you can give your videos a cool ‘widescreen’ look.
Video backgrounds will autoplay and loop without sound, making them a real eye-catcher. These settings are built in and can’t be changed.
TUTORIAL
STEP 1. ADD VIDEO
Begin by clicking Edit Section.
Then, under the Background tab, select the Video option.
Squarespace gives you the choice to either embed a video with a Vimeo or YouTube URL, or upload a video. Again, this process is exactly like methods 1 and 2 above.
However, if you’re uploading a video, it can’t be longer than 60 seconds and you should aim to keep the file size low. Squarespace says to use a resolution of 1080p and a bitrate of at least 3 Mbps.
Also be mindful that using multiple video backgrounds on a single page can lead to slower loading times. Squarespace recommends adding up to 2 background videos per page.
STEP 2. EDIT DISPLAY SETTINGS
If you want to achieve that ‘widescreen’ look that spans your entire browser, here’s how:
Set the background width to Full Bleed.
Under Section, toggle on Fill Screen.
Drag the section height adjuster to your desired height. Do this for both desktop and mobile. If your section height is too tall, the section’s background colour will show but can be hidden by narrowing the section height.
A note on black bars: If your video already has black bars, because it is, say, in a 4:3 aspect ratio, these will show up.
Don’t want your video to span your entire browser window? Set the background width to Inset. Here’s what that looks like:

Video background set to Inset.
Easy as that!
How to add a video to a gallery block


Example of a gallery block with a trailer + images set to grid. Click to see how they pop up in a lightbox.
Squarespace 7.1 allows you to add gallery blocks with stills and/or videos to areas of your site where gallery sections aren't supported, such as blog posts.
In this tutorial, I will show you how to add a video, like a trailer, to a gallery block in a post. And then how to set the gallery to enlarge videos and images in a lightbox when clicked.
Adding videos to a gallery is currently supported in gallery blocks but NOT gallery sections, so this feature is unavailable if you’re using Squarespace’s portfolio pages. In the future, I’ll provide a comparison on portfolio pages vs a blog. Even though the latter is called a blog, this feature is a lot more versatile than that!
TUTORIAL
STEP 1. ADD A GALLERY BLOCK
In your post, click an insert point (+), then choose Gallery.
STEP 2. ADD CONTENT

Locating the + button.
In the pop-up window under the tab Upload media, click the + button in the bottom right corner. You may need to scroll down to find the + button. Mine was hiding!
Select Add video.

In the next pop-up window, paste in your video URL in the field Enter an embeddable URL. Oddly, mine comes up with ‘URL is not embeddable’ but this doesn’t seem to be an issue.
Squarespace should generate a video thumbnail that you can use, but you can choose to upload a custom image instead. Select Use Thumbnail if you want to use your own.
Hit Save.
STEP 3. EDIT DESIGN SETTINGS (OPTIONAL)
You can play around with the Design tab settings. There’s plenty of options.
But if you want your video to open in a lightbox, use these settings:
Under the Design tab, pick Grid
Turn on Lightbox
How to embed a private screener
Example of an embedded private screener.
There may be instances where embedding a private screener/password-protected video in your online portfolio may be a great idea.
An example scenario: A director wants to share a private screener with a potential collaborator. Instead of having to dig up the Vimeo link, the director could direct that person to their website (a URL that’s hopefully more memorable) and give them the video password.
And while the potential collaborator is visiting the director’s site, they may be more inclined to check out more of the director’s work!
TUTORIAL
STEP 1. CHECK YOUR VIMEO PRIVACY SETTINGS
Head to your Vimeo account.
Under the privacy settings for your password-protected video, set Where can the video be embedded? to Anywhere.
STEP 2. ADD A VIDEO BLOCK
If you’re editing a section, click the button Add Block > Video
If you’re editing a blog post, click an insert point (+) > Video
STEP 3. ADD VIMEO URL
In the pop-up window, click Add a Video > Add from Link.
Copy and paste across your Vimeo URL, and you’re all set.
That’s 5 of the simplest ways to add video to your Squarespace website. I hope you found this helpful. Until next time!