Easily Create a Filter for Your Squarespace Portfolio
Let’s build a filtering solution in Squarespace to help your site visitors narrow down your portfolio to the projects they’re most interested in.
A filter is a great way to boost your users’ satisfaction with your website by helping them navigate your site faster.
If you can divide your work into different categories, adding a portfolio filter is a smart move for filmmakers, artists and creative freelancers working in movies, TV and the performing arts.
In this tutorial:

This tutorial covers the Mobile (pictured) and Desktop design.

Before you begin
Your portfolio needs to be built in Squarespace 7.1 using a blog page
If you’re building a portfolio site in Squarespace, I recommend using a blog page for your main portfolio page. Why do I recommend this?
Because you can add filters to blog pages.
Blog pages are made up of:
a landing page, which displays all of your blog posts
individual blog posts, which are sub-pages of the main landing page. Use posts for your productions, projects, etc.
Although Squarespace has a type of page called a portfolio page, I don’t usually recommend using one to design filmmaker/theatre portfolios in Squarespace 7.1.
This is because you can’t add categories or tags to portfolio pages—and, consequently, filters.
You can read more about the differences between blog pages and portfolio pages in SQSP 7.1 in my previous article.
Your projects need to be categorised
Before you can create a filter, ensure that you’ve added categories to your various projects.
In practical terms, you’ll need to have gone into the blog post settings for each post and assigned it to a category.
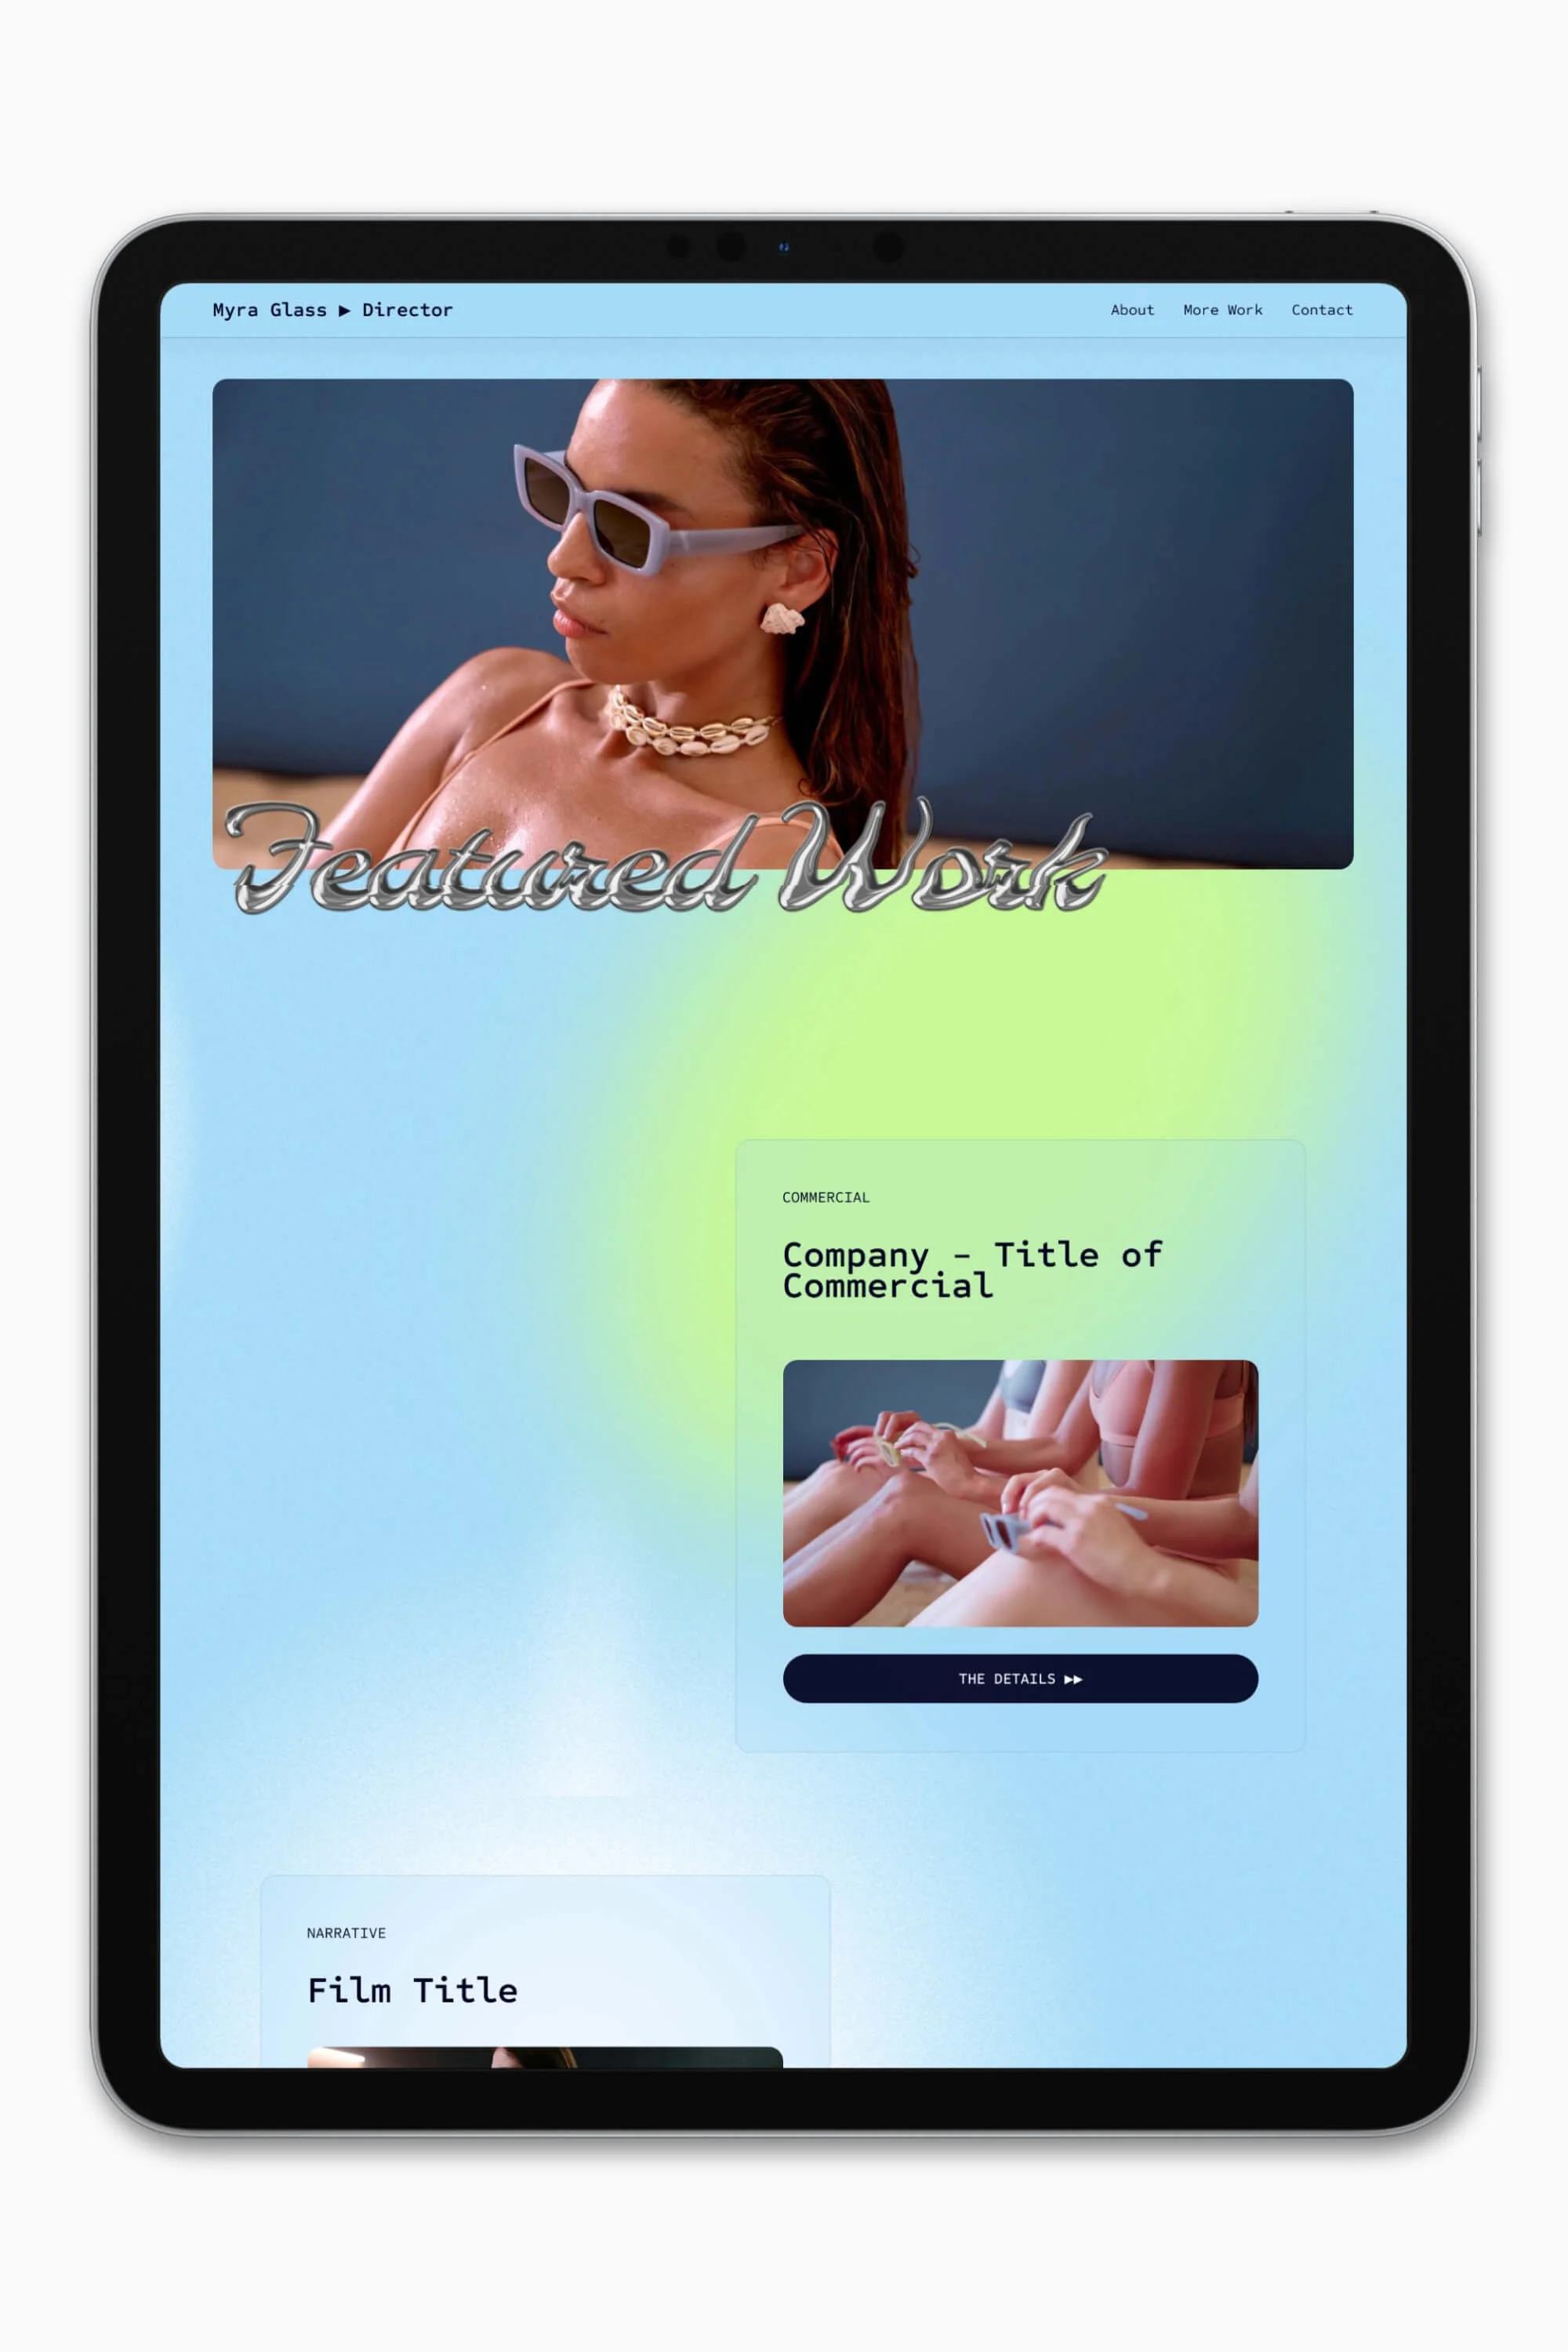
In this tutorial demo, I’m going to be working on a writer/director portfolio using our Moulin website template. My projects fall under the categories features, shorts, commercials and music videos.
Tutorial
LEVEL: Beginner
This Squarespace tutorial covers how to build an easy filtering solution for a portfolio built on a landing page using Fluid Engine.
I wrote a lengthier tutorial last month on how to build a dropdown category filter.
But since there’s more than one way to skin a cat, I thought I’d share another effective, filtering method that’s more beginner-friendly!
The type of blocks we’ll use are:
button blocks
text blocks
The end result will look similar to this (but will match your pre-existing site styles: colours, buttons, etc):
Mobile view
STEP 1. Add a blank section
You’ll need a page section above your blog content to “house” your category buttons. It’s practical to add filters above/before results, as this is where visitors are accustomed to finding filtering options.
This section can also include the main heading of your page.
🐰 Skip to STEP 4 if you’ve already created a section.
At the top of your landing page, hover over the page.
Click Add Section.
Click Add a blank section.
STEP 2. Change the section colour
If you want to pick a different colour theme for your newly created section:
Hover over the section.
Click Edit Section on the right of your screen.
Navigate to the Colors tab.
Pick a colour theme for your new section.
STEP 3. Add a page heading
Let’s add the title for the page as an H1 heading. I’m going to call mine “Work”, but “Projects” and “Productions” are other good choices.
Headings signpost to users what a page is about. You can learn more about how to use headings on your site in this Yoast article ↗.
Hover over the section.
Click Add Block.
Click Text from the list of block options.
Type your title into the text block. I’m going all caps for a bold look to match my site’s overall aesthetic.
Change the style to Heading 1.
STEP 4. Add a button block + style it
After adding a button to our section—and before we make copies of it—we’re going to make style changes in this step, so we only have to do it once!
Hover over the section.
Click Add Block.
Find and select Button.
Drag your new button to a blank area of your page section.
Select your preferred button type in the toolbar. I’m going to choose my Secondary button.
Click the pencil icon ( Edit ) > Design.
Decide if you want your button to Fit or Fill its container*. I want my buttons to look uniform as a group. With my Secondary button style, this will look better using Fill. This is going to depend on the style of your buttons and section’s grid.
Selecting Button Type
Selecting Fit or Fill
*Glossary
Fit = the button’s size is determined by the padding you have set for that button type under your global site styles. My preference for designing smaller buttons.
Fill = sets the button to fill the whole block. Resizing the block, resizes the button.
STEP 5. Multiply the button block
Now, we want to multiply the button block by how many portfolio categories you have.
With your button block selected, click Duplicate in the toolbar. Or, use the shortcut keys Command + D (mac) / Ctrl + D (PC).
Repeat until your buttons number the categories you need.
STEP 6. Arrange your buttons
Layout your filtering buttons in a horizontal row underneath/beside your H1 heading.
Size and space them evenly. To help, you can hit G on your keyboard to reveal (or hide) the Fluid Engine grid.
I’ve also left a space at the end of the row for a “View all” option, which we’ll cover in the next step.
STEP 7. Create an option to clear the filter
To make this filtering solution even better for your Squarespace portfolio, we’ll add a link to your landing page to allow users to conveniently clear the filter and view all projects.
We’ll use a text block to visually differentiate this option from the filter categories.
Hover over the section.
Click Add block.
Select Text.
Drag the new text block to the end of your filter row.
If needed, resize the text block to match the size of your buttons.
Type into the text block “View all”.
STEP 8. Style the clear filter option
With the “View all” text block selected:
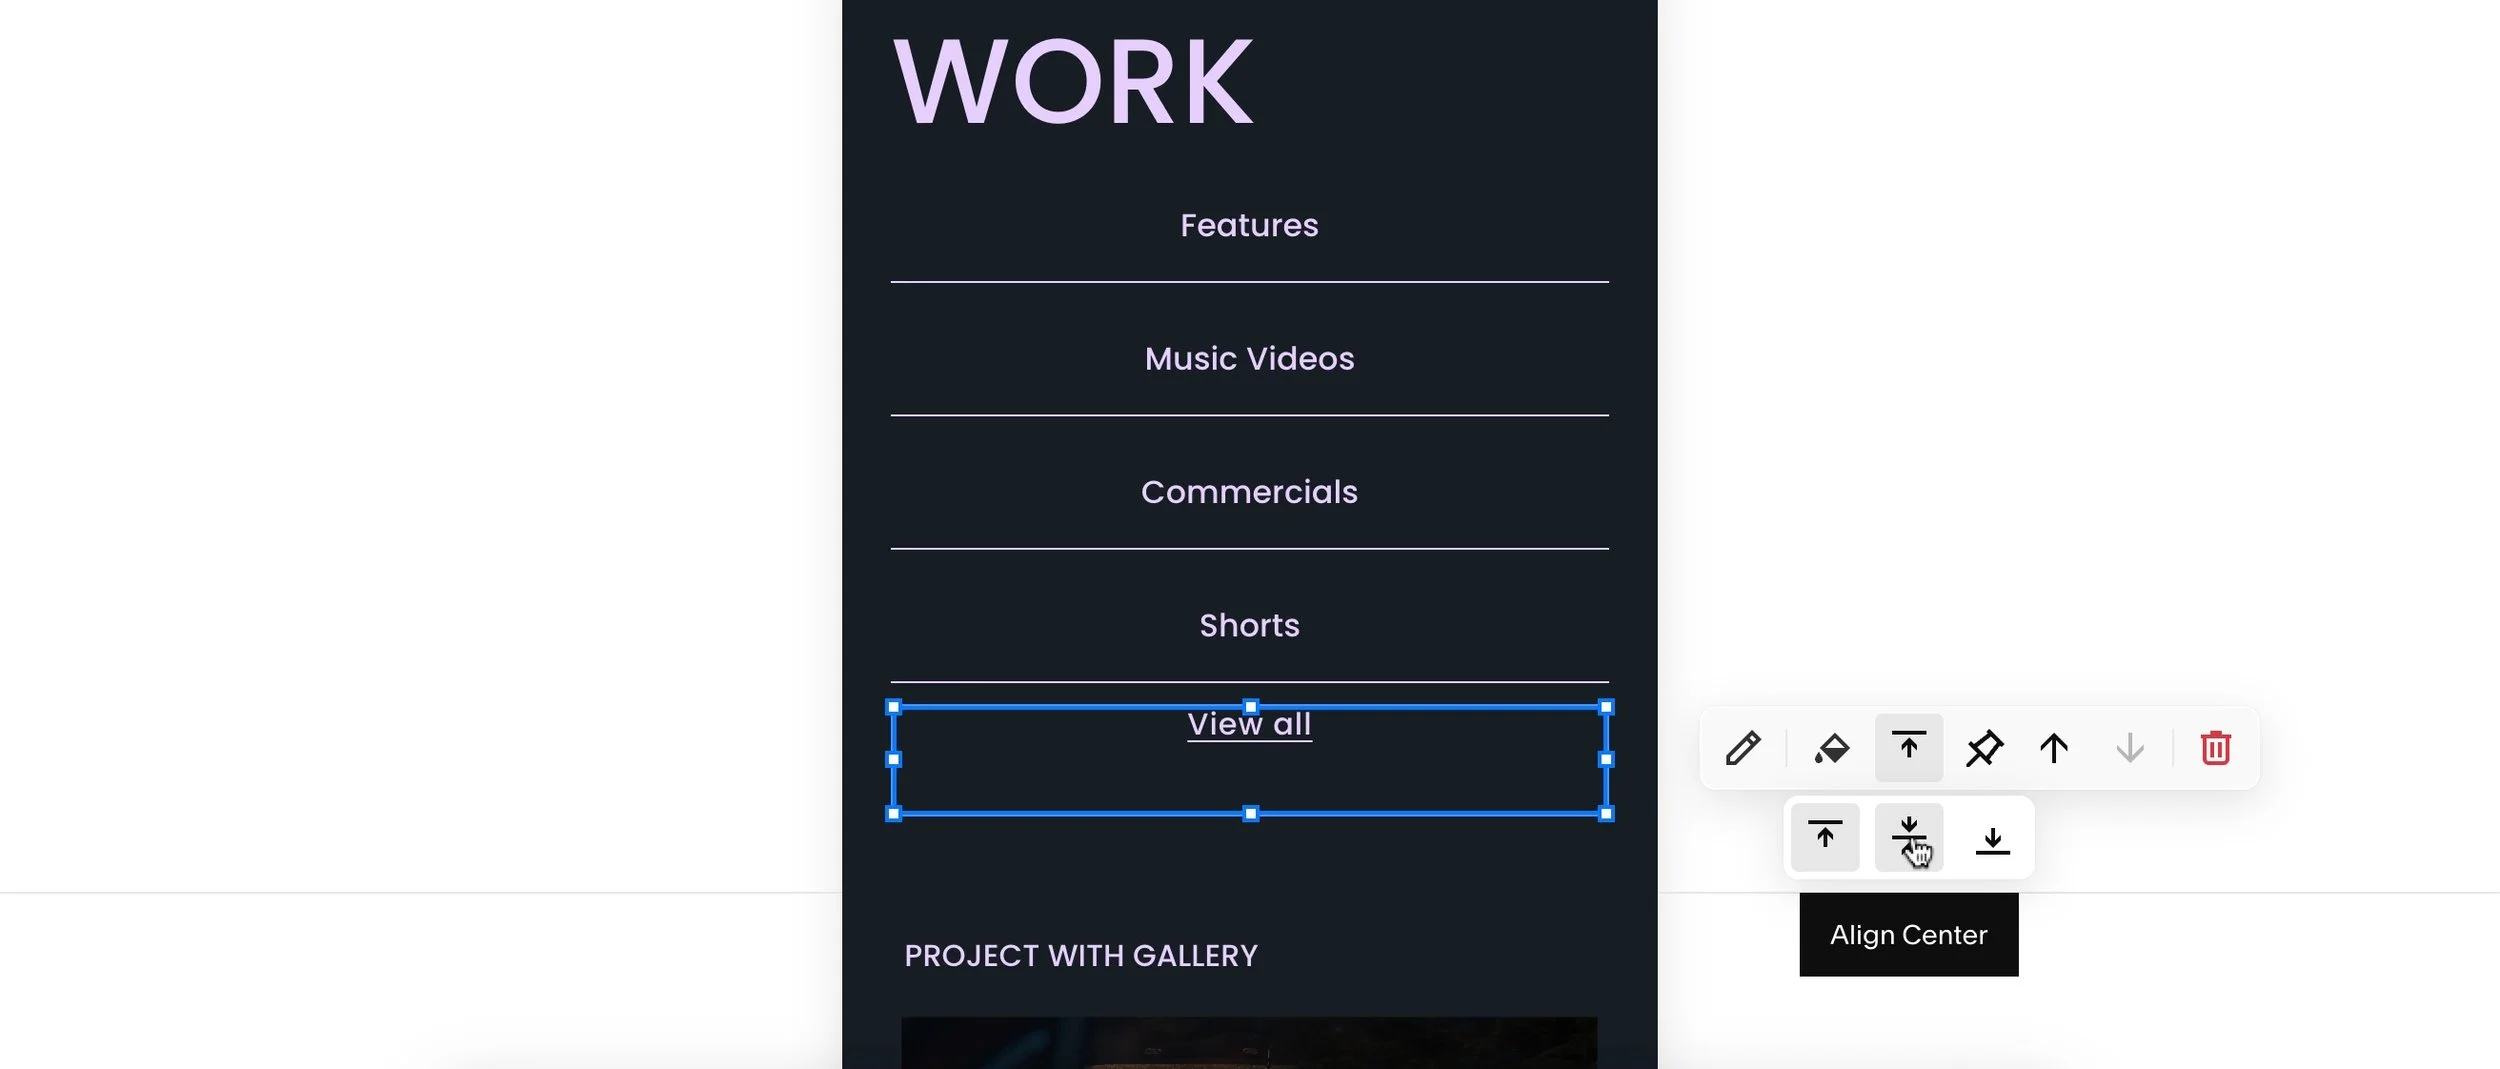
Click the Align Center option in the toolbar. This is to line it up nicely with our category buttons.
Change the text alignment to Center Align.
To add a link, highlight the text “View all”.
Click Link in the toolbar.
Under Enter link…, select the landing page you’re currently working on (your main portfolio page) from the options Squarespace provides.
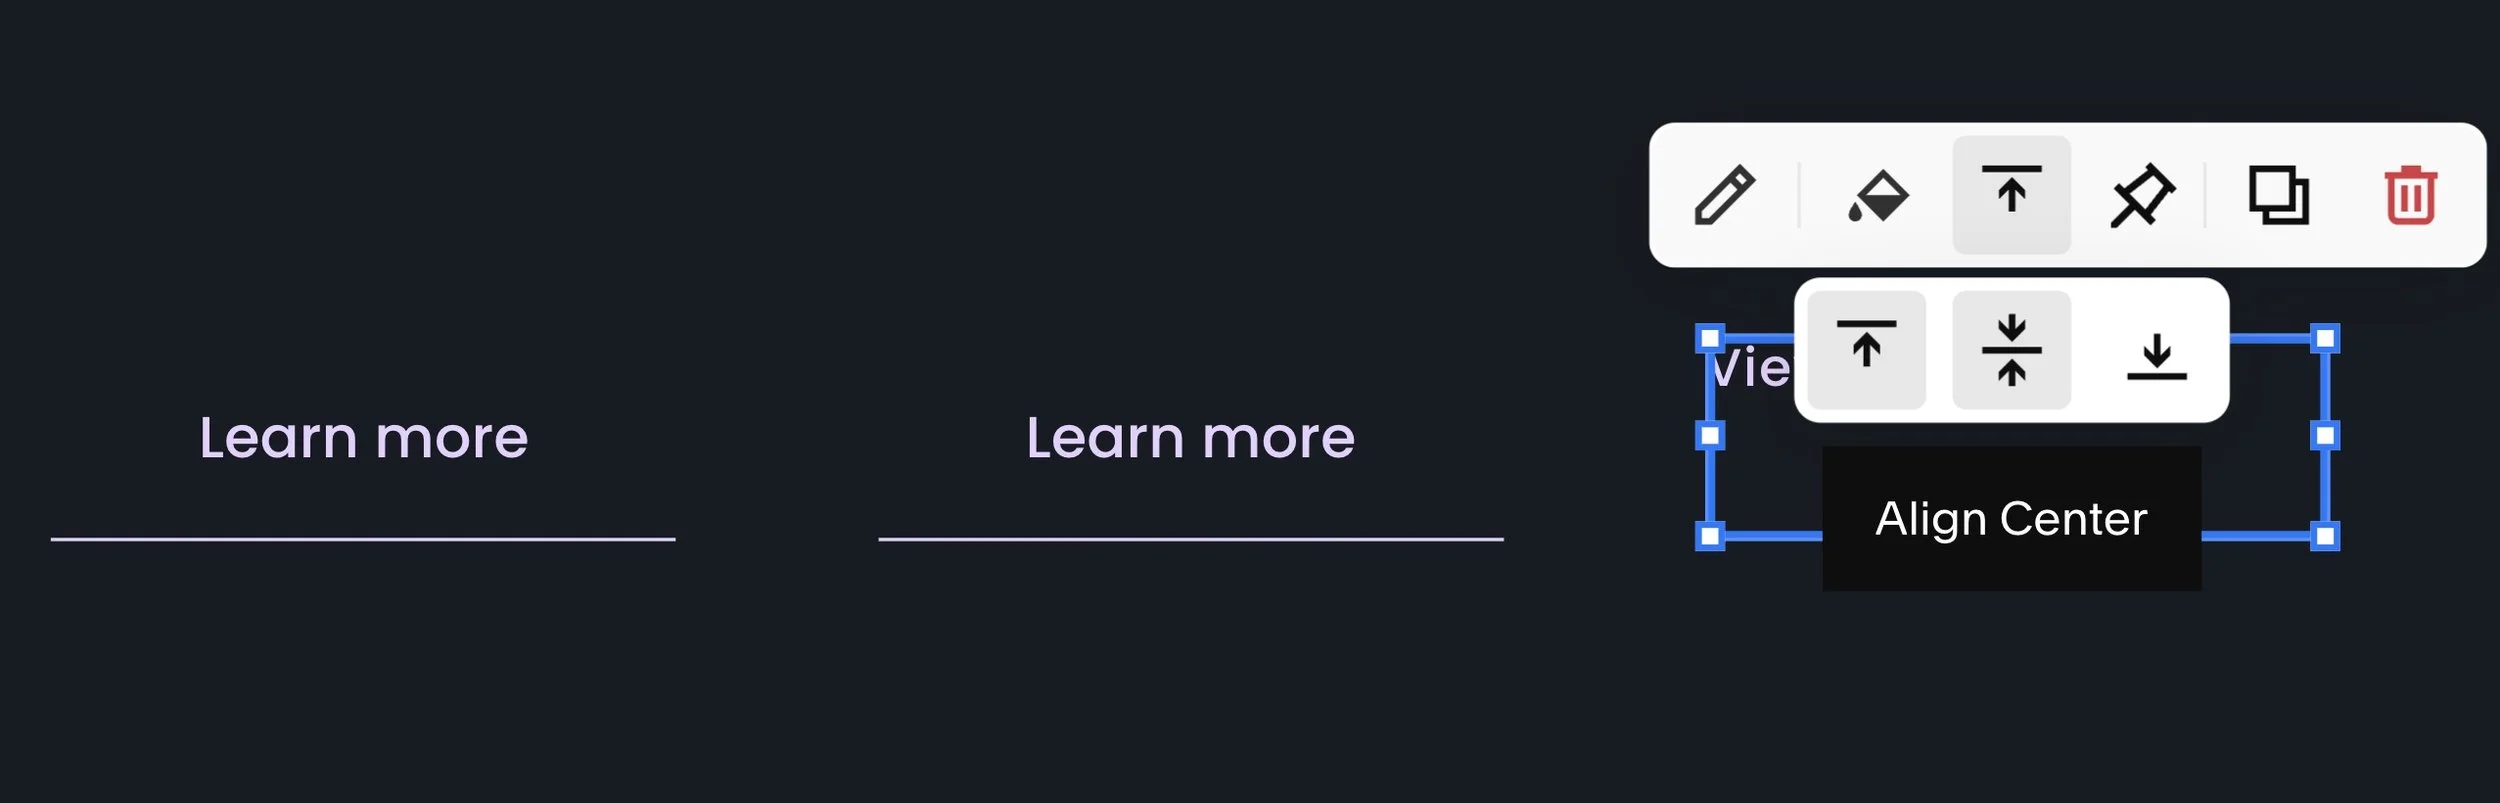
Align Center changes how your text aligns vertically in its block.
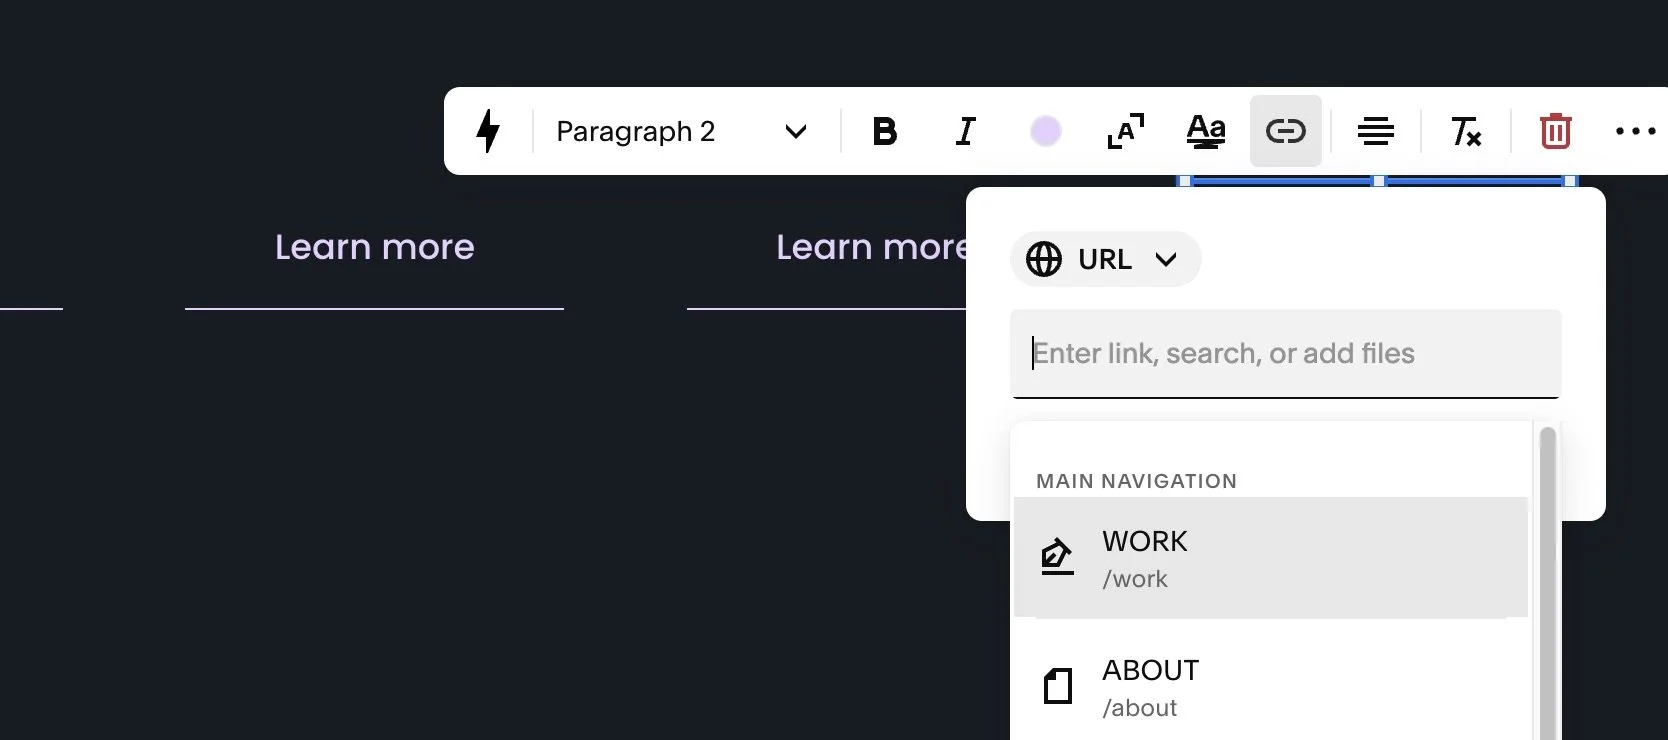
Select the current landing page for your portfolio. In my example, the Work page.
STEP 9. Name + link your filter buttons
It’s time to name and link each of your filter category buttons.
You will be linking to the URLs for your blog categories. Squarespace 7.1 makes it super simple for you to find and link to those URLs.
Here’s how:
Select a button.
Click the pencil icon ( Edit ).
Type in the name of the category under Text.
Click Attach Link.
Under Enter link…, Squarespace will bring up a dropdown list of all the pages and blog categories for your site. Scroll down to the blog categories section to find the right category link.
Repeat for each button.
STEP 10. Tidy up Desktop View
You’re now ready to make any final tweaks to your section design.
In my example, I want to adjust the section’s default height to be shorter, so there’s a smaller gap between this section and my projects.
To do this, drag the resize section slider upwards to reach the bottom of your row of buttons.
STEP 11. Don’t forget Mobile View!
It’s crucial that you review your page’s Mobile View to see if you need to make any design adjustments to the section.
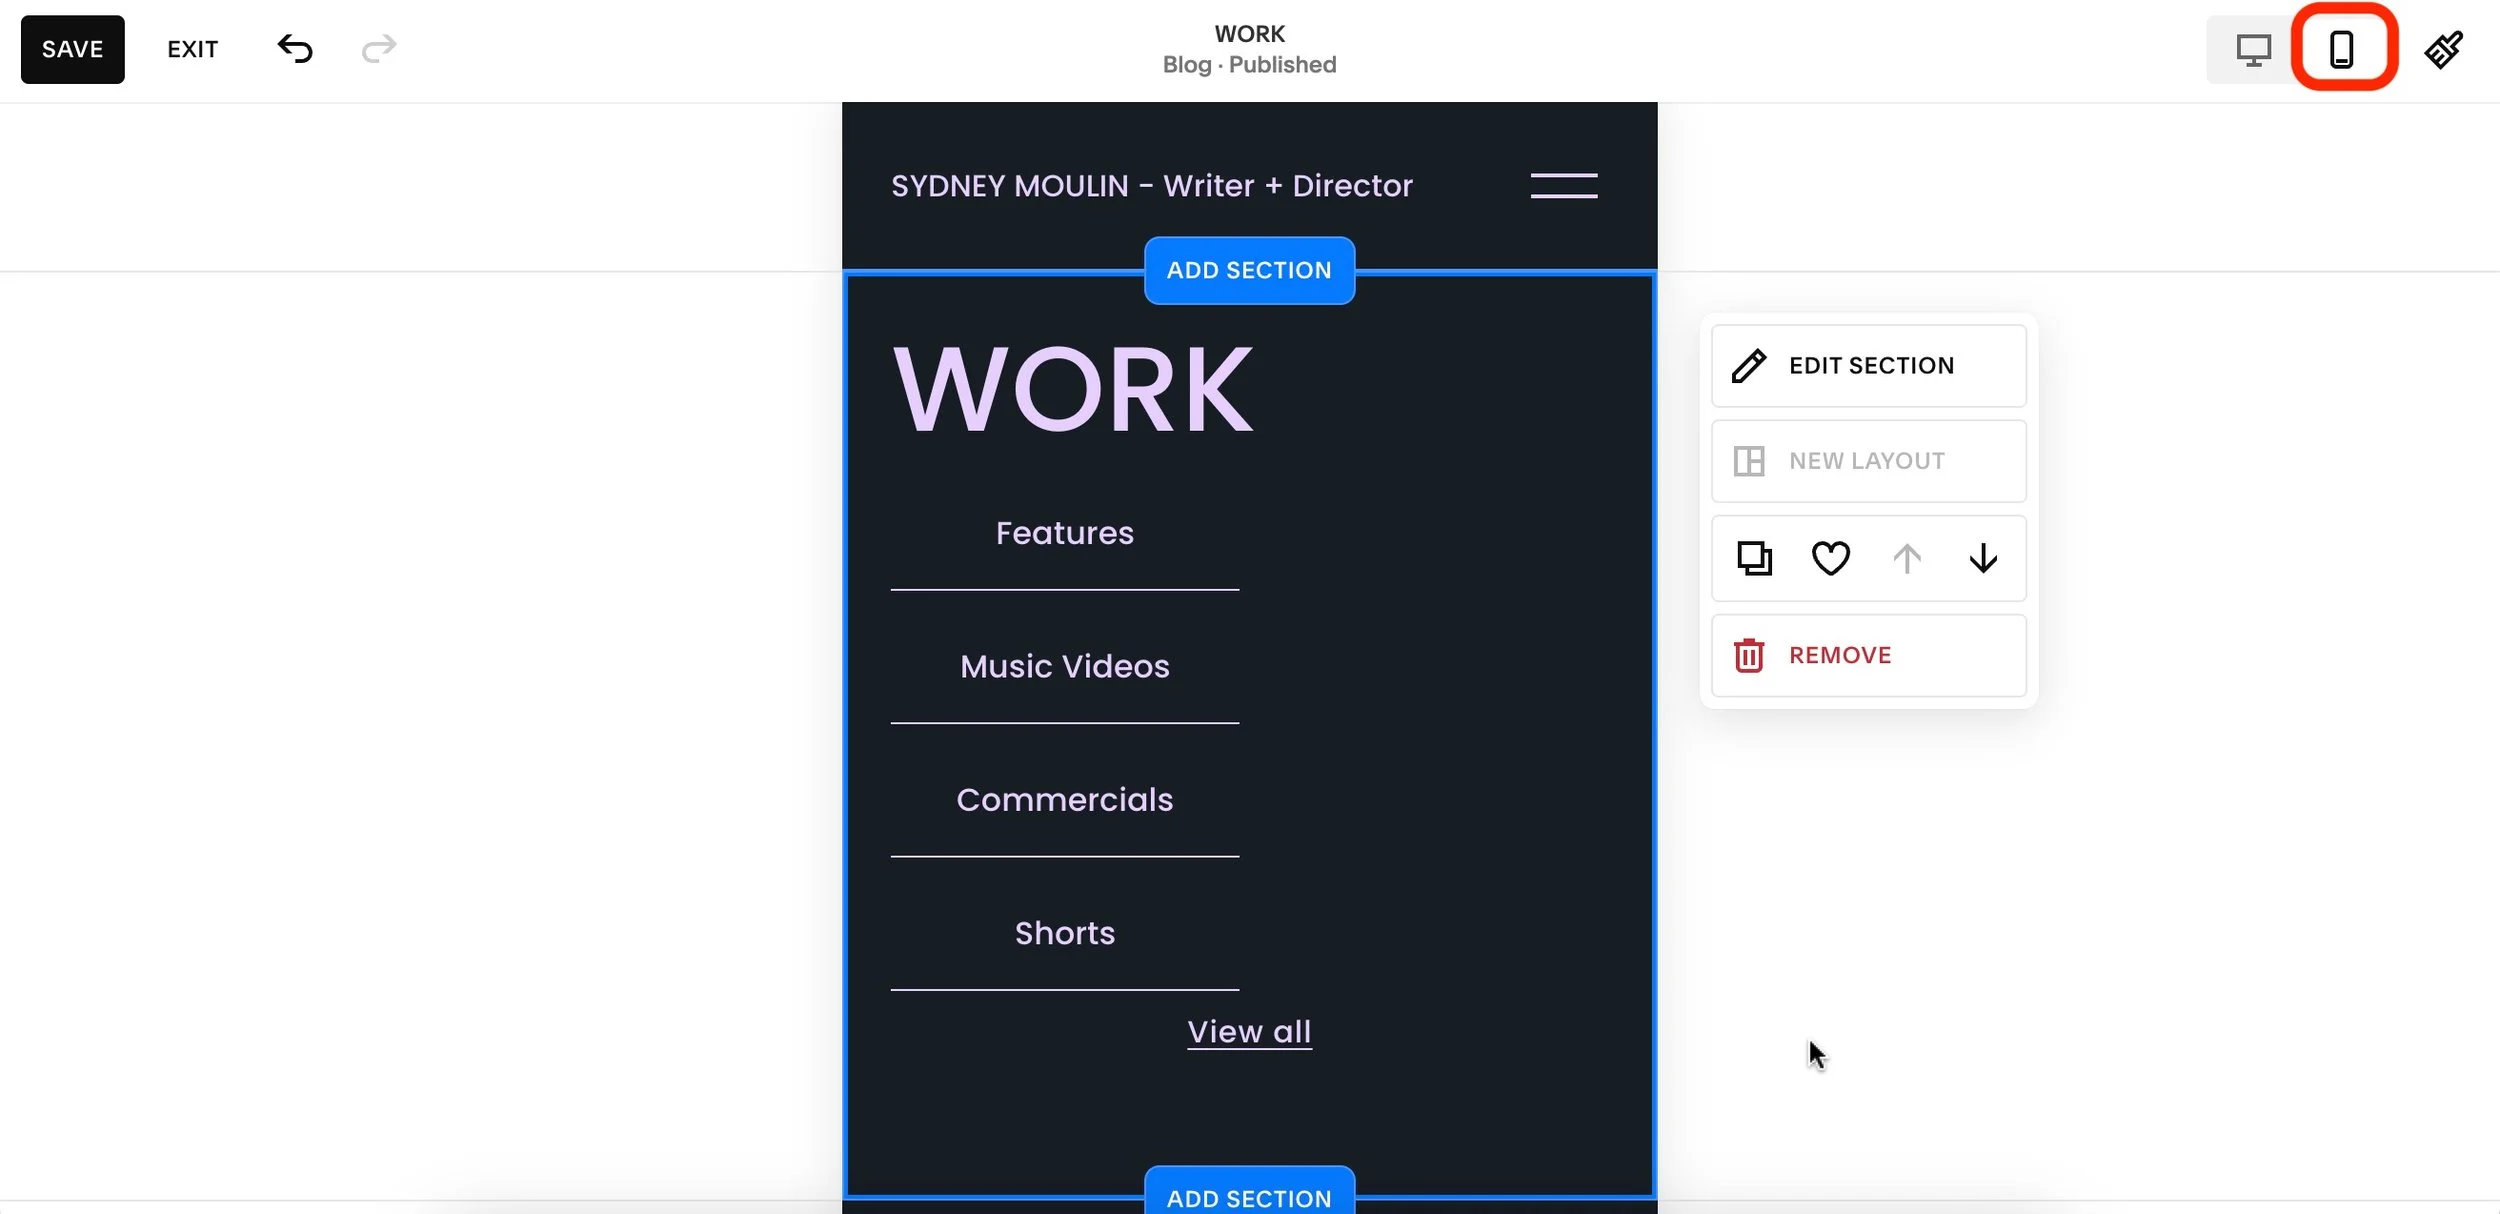
Enter Mobile View by clicking the mobile view icon in the top-left corner of your page.
If needed, adjust the size and layout of your filter buttons. I’m going to widen my button blocks, as I like how my Secondary buttons look when spanning uniformly across a mobile screen.
If needed, change the block alignment for your “View all” link. I’m setting mine to Align Center.
Changing my View all link to Align Center.
Here’s the before pic of how my demo site looked before I touched it:
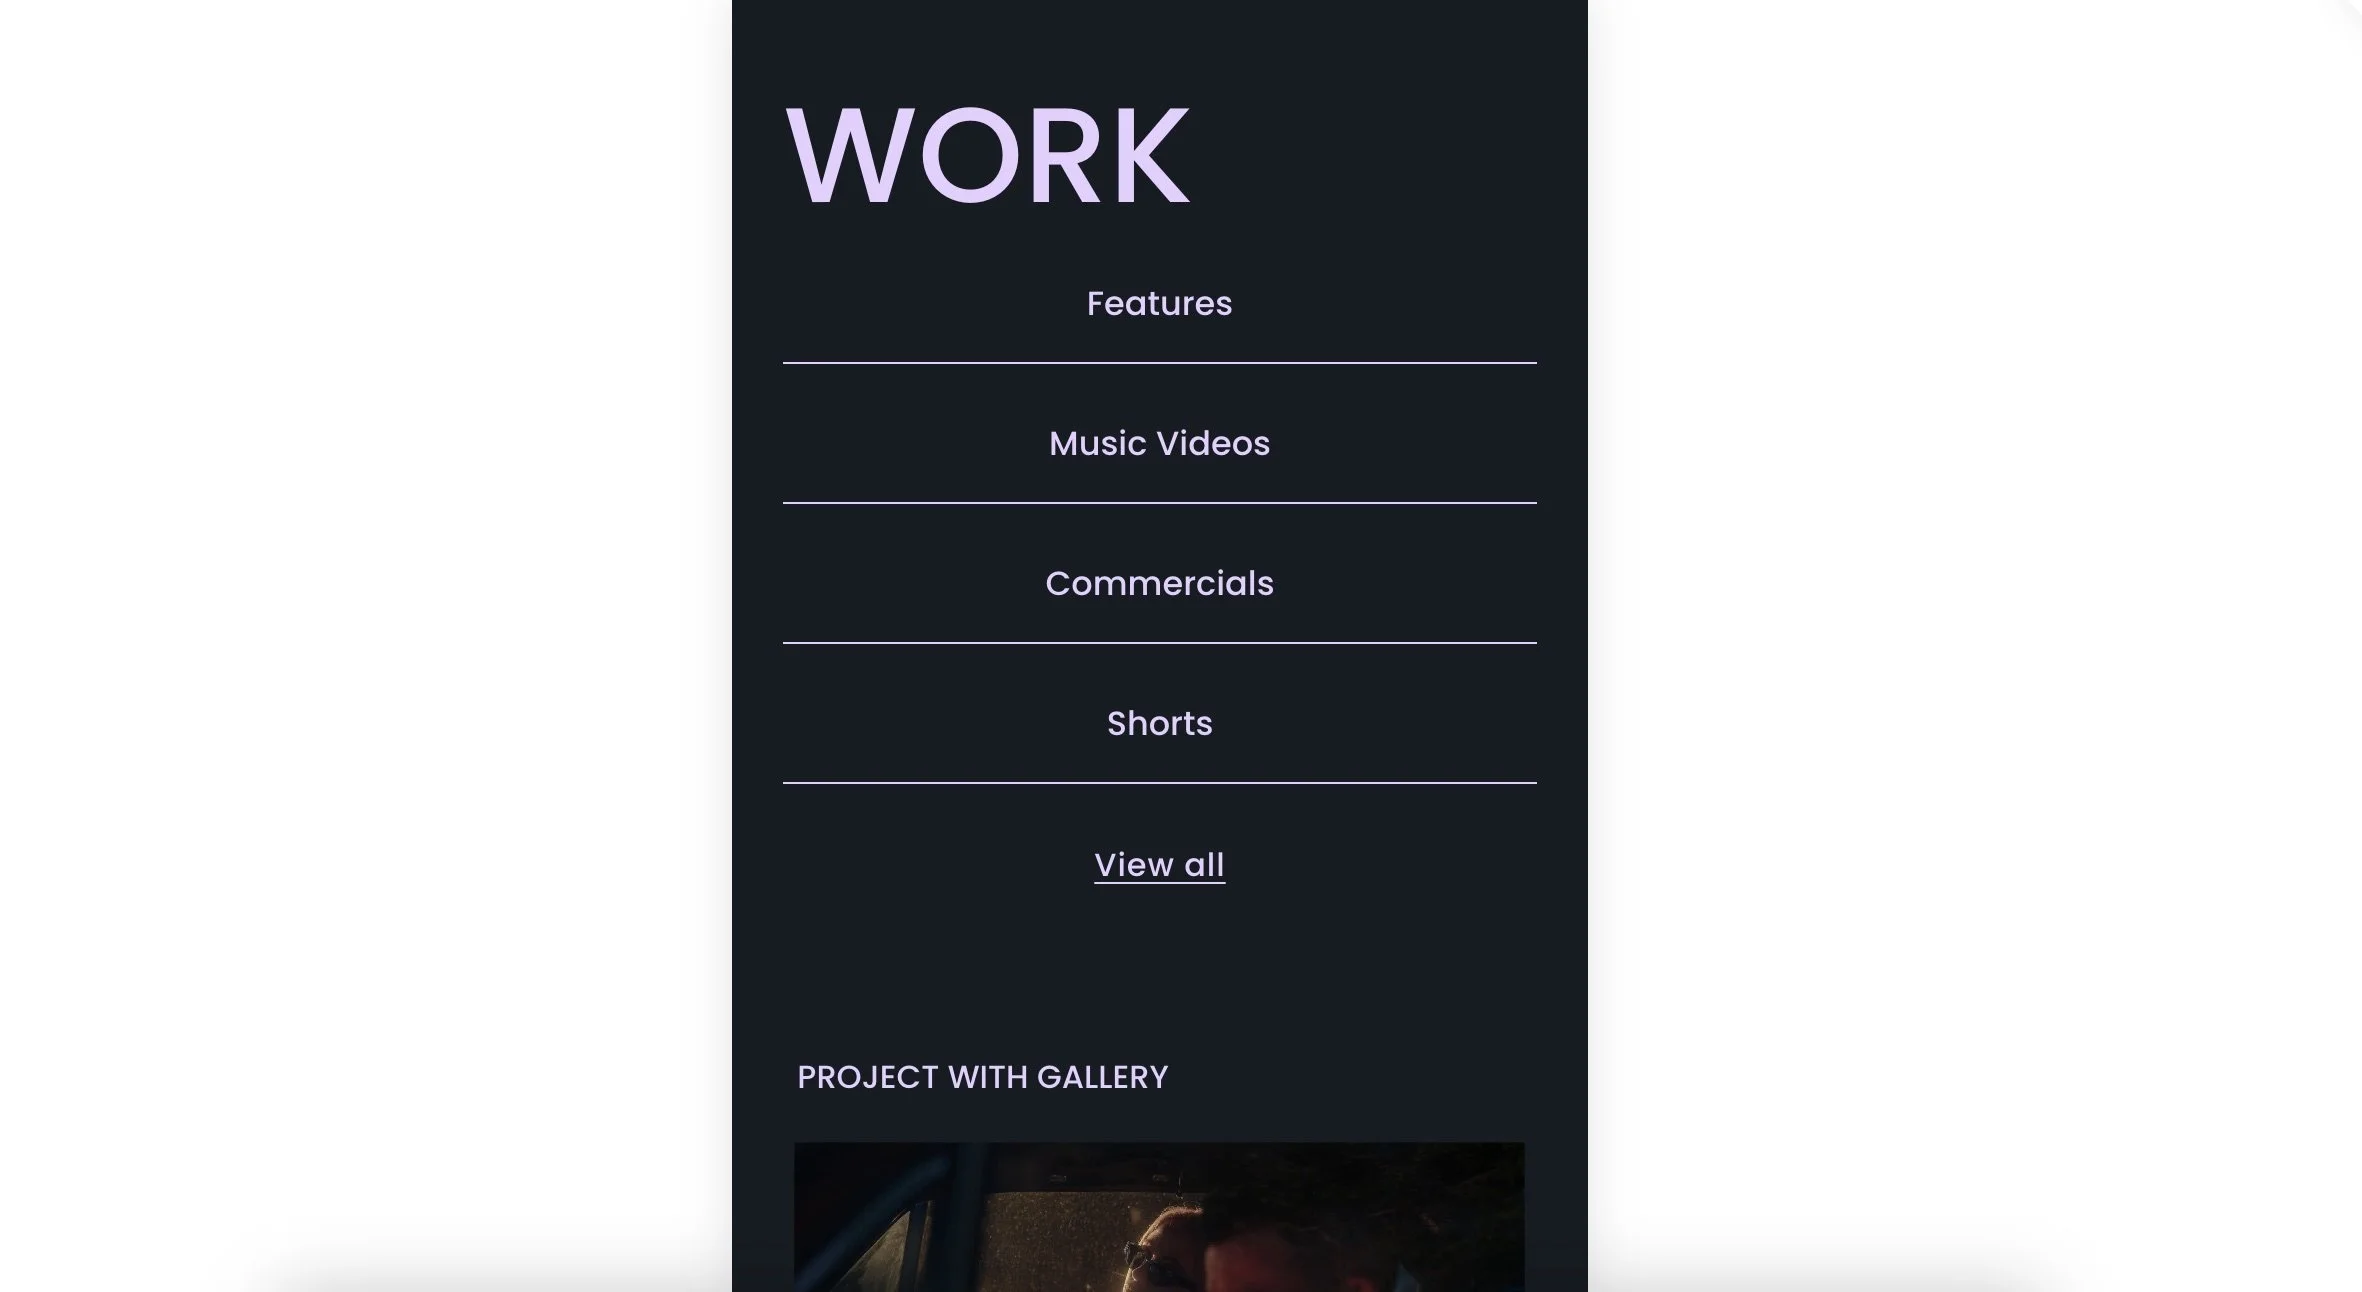
Here’s the after pic of the finished design for mobile devices:
🏅 Well done, you! You’ve completed the tutorial and upgraded your Squarespace site.
By adding filtering to your portfolio, you’re helping your visitors have a better site experience, increasing your chances of getting hired!
SHOP TEMPLATES